
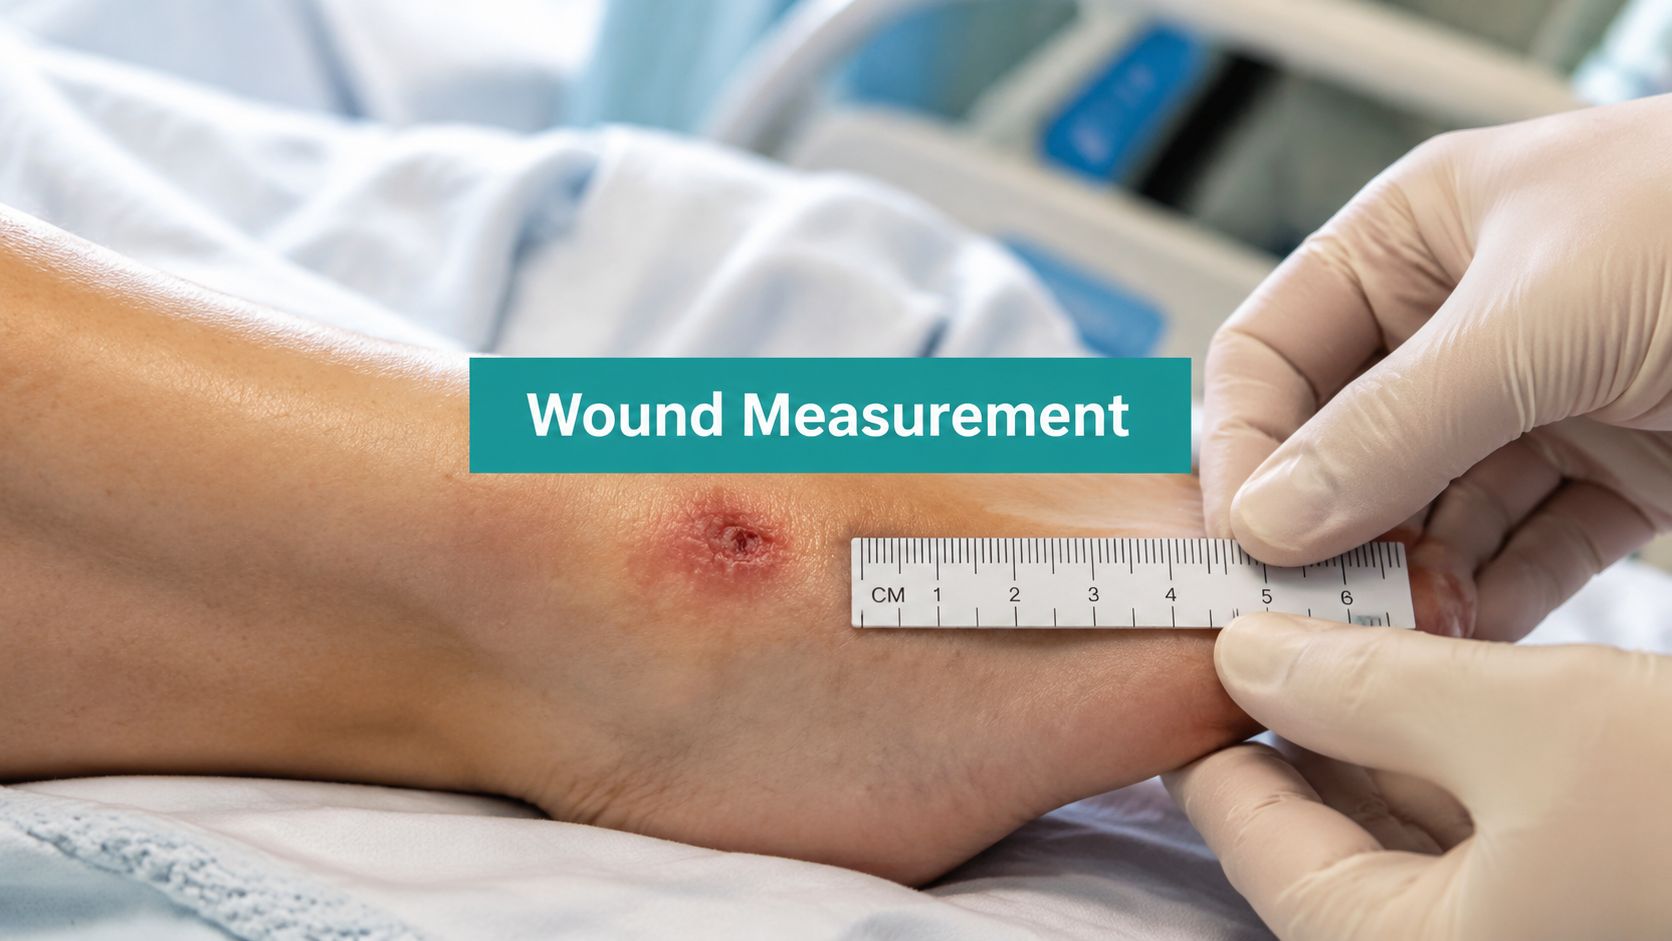
A patient returns to clinic two weeks after debridement. The wound looks smaller, but the previous note contains no baseline dimensions, no undermining map, and no clear statement of the deepest tissue removed. The physician can't prove the wound's trajectory to a MAC auditor, and the patient's Wagner grade progression is impossible to establish.
That scenario is common because wound measurement is often treated as a quick ruler task instead of the foundation for clinical decisions, billing, and audit defense. A credible record connects the wound's dimensions to healing progress, debridement depth, medical necessity, and the ongoing assessment documented in the wound healing process.

Why Wound Measurement Matters Before You Pick Up the Ruler
Wound measurement drives three downstream decisions.
- Clinical trajectory. Serial surface area helps show whether treatment is working. A reduction of 20% to 40% over 2 to 4 weeks has been described as a reliable sign that chronic wound healing is on track, while a lack of response should prompt reassessment, according to the wound reassessment guideline. Some guidance uses a stricter 50% reduction by 4 weeks threshold when considering advanced therapy after standard care has not worked.
- CPT selection. Surgical debridement codes 11042 through 11047 depend on both the tissue depth removed and the wound surface area after debridement. A note that says “ulcer debrided” without dimensions or tissue level leaves the coder with no defensible basis.
- Surveyor and payer review. CMS expects current wound volume documentation, meaning surface dimensions plus depth, along with material in the wound that may delay healing or cause adjacent tissue breakdown. That is how reviewers distinguish active wound management from a generic skin examination. See the CMS wound care documentation guidance.
Traditional length-by-width measurement remains popular because it's fast. It also materially overstates irregular wound area. A peer-reviewed report found overestimation of roughly 40%, and a later comparison cited about 44%, particularly when wound borders are irregular, as discussed in the peer-reviewed wound area study. Use ruler measurement as a consistent bedside estimate, but don't mistake it for the true outline when the wound is oval, scalloped, callused, or undermined.
Practical rule: The measurement isn't paperwork after care. It's the evidence that explains why care continued, changed, or escalated.
Measuring Length, Width, and Depth at the Bedside
Start with a clean wound bed after cleansing, unless you're intentionally documenting the pre-cleansing appearance. Record dimensions in centimeters as length × width × depth. Length runs head-to-toe, with the longest axis parallel to the body. Width runs hip-to-hip, perpendicular to length, at the widest point. This convention is consistent with wound documentation guidance.
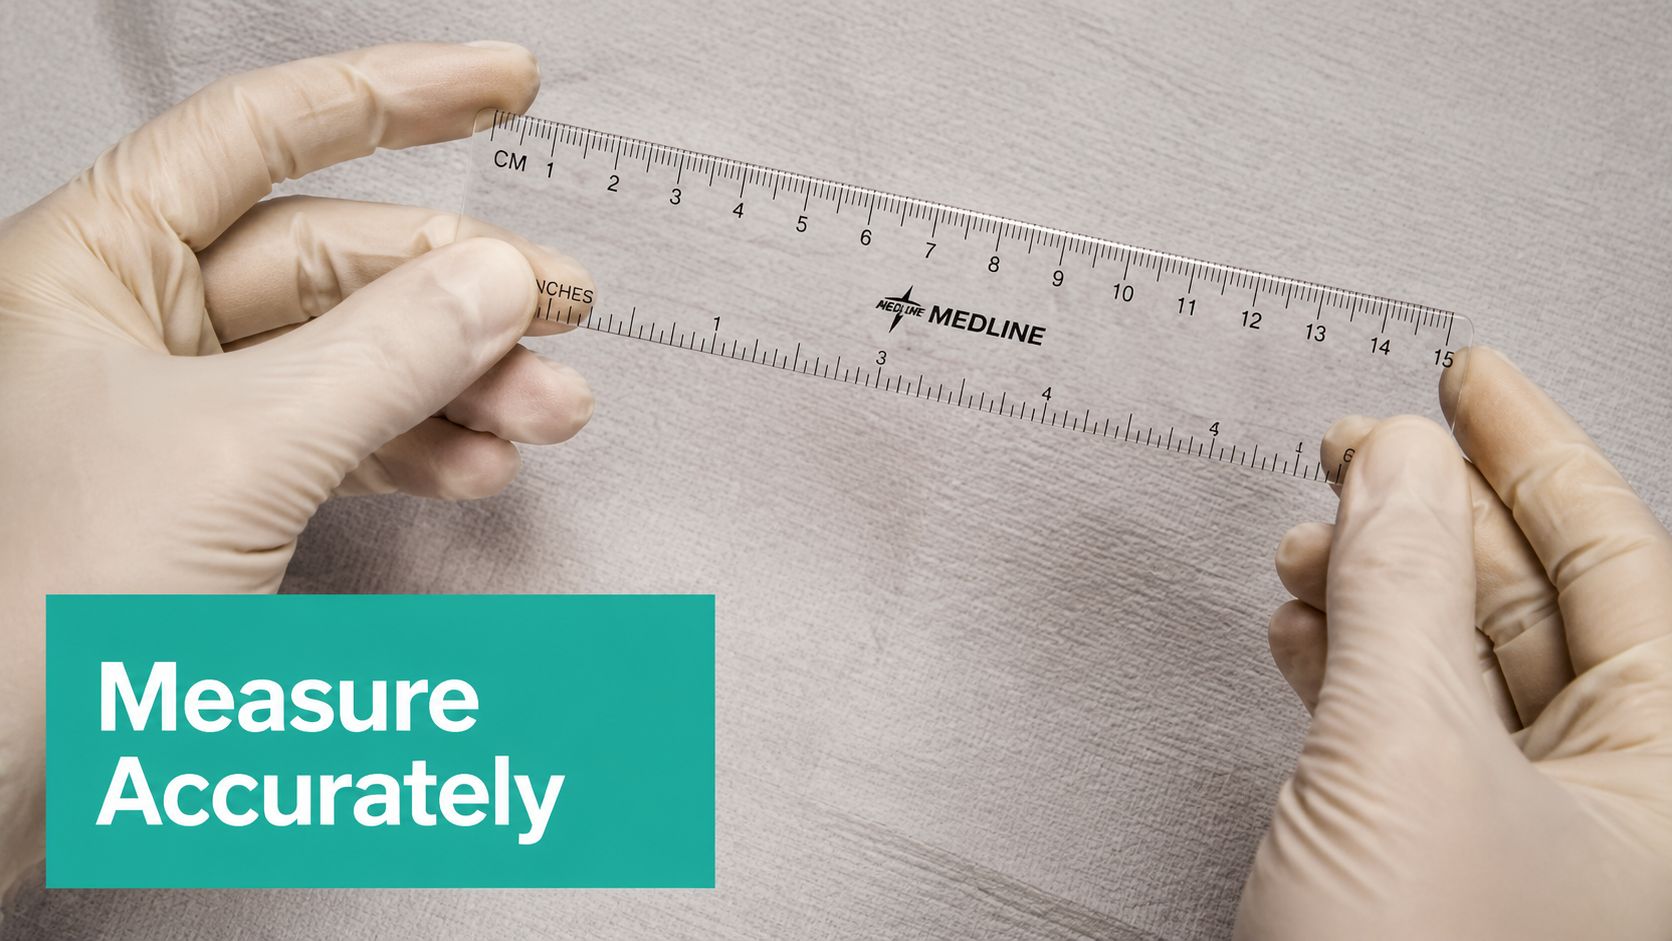
Use a sterile flexible ruler for surface dimensions. Don't rotate the ruler to make the numbers look more favorable. If the longest axis is diagonal, follow that axis and record it as length. A measurement with width greater than length isn't automatically wrong, but it should make you stop and verify the orientation.
Map the wound edge, not just the opening
Set 12 o'clock toward the patient's head and keep that orientation consistent. Record undermining and tunneling separately, including clock position, depth in centimeters, and whether the probe tip is visible. A useful entry might read:
5.2 cm L × 3.1 cm W × 1.4 cm D, with 2.0 cm undermining at 3 o'clock and a tunnel at 7 o'clock, not palpable past 3.5 cm.
For practical terminology and documentation examples, review this resource on tunneling in wounds. Clock-face notation matters because another clinician should be able to locate the same tract without guessing.
Measure depth at the deepest visible point with a cotton-tipped applicator marked in 1 cm increments. Don't force the applicator into a tunnel. If the base isn't fully visible, depth is limited by what you can safely assess. Document the obscuring tissue at the same visit, including the percentage of slough or eschar covering the base.
The largest bedside error often occurs at the margin, not in the arithmetic. Classic wound tracing work identified edge detection as the major source of error, while diabetic foot ulcer comparisons found that simple elliptical estimation could overestimate area by as much as 33%, with an overall absolute relative error of 13.3%. That's why irregular edges, small ulcers, callus, and undermining deserve more attention than another decimal place.
Calculating Wound Area and Volume Accurately
You'll use three practical approaches. Each has a place, but they're not interchangeable.
Choose the method that matches the wound
| Method | Formula | Accuracy vs. planimetry | When to use |
|---|---|---|---|
| Length × width | L × W | Fastest, but tends to overestimate irregular wounds | Routine screening and consistent trend tracking |
| Elliptical approximation | L × W × 0.785 | Closer for smoothly curved oval wounds | Oval wounds with clearly visible edges |
| Planimetry | Trace the wound outline from a calibrated image or tracing | More representative of the true irregular outline | DFUs, appeals, advanced therapy documentation, and complex borders |
Length × width remains common because it's quick and easy to reproduce. The problem is geometric. A rectangle extends into corners that may contain intact skin, so the result can materially overstate an oval or scalloped wound. Computer-based measurement has shown less bias than ruler measurement, which is why image-based assessment is increasingly useful when the exact trend matters. Guidance on selecting wound assessment tools for nurses can help teams standardize the workflow.
For a wound measuring 5.2 × 3.1 cm, length × width produces 12.7 cm². The elliptical approximation produces 9.97 cm² using the 0.785 factor. At a documented depth of 1.4 cm, multiplying the elliptical area by depth gives an estimated volume near 17.8 cm³. Label the result as estimated when the cavity isn't uniform.
Saline instillation can help estimate a cavity, but it introduces infection-control, collection, and spillage concerns. It also doesn't replace documentation of the tract direction, the deepest point, or the tissue visible after debridement.
Two errors create avoidable audit problems. First, calculate and report area in square centimeters, not square inches. Second, don't report volume without documenting the depth measurement that produced it. The number has to be traceable to the bedside finding.
Photographing and Annotating Wounds the Right Way
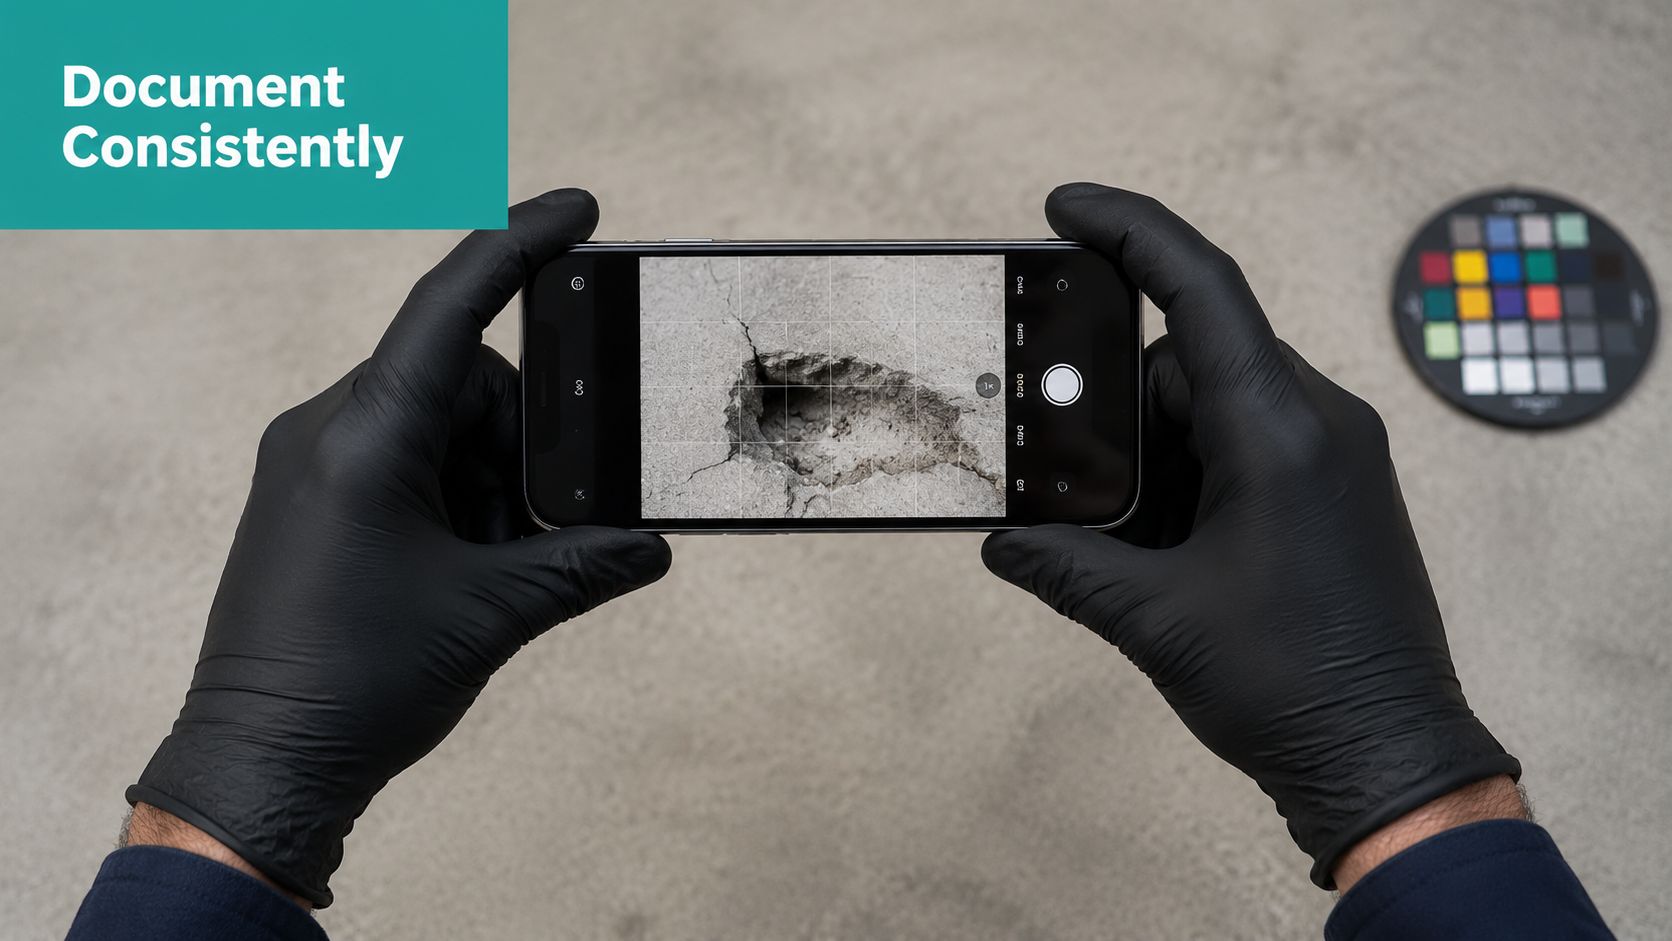
A photograph is only useful for comparison when the capture conditions are repeatable. Place a sterile calibration sticker, ruler, or color and size reference at the wound margin in the same plane as the lesion. Shoot perpendicular to the skin at a consistent distance, and keep lighting stable with the same flash or lighting setup whenever possible.
Capture three views:
- Overview: Shows the body region and wound location.
- Close-up: Shows the wound bed, edge, exudate, and tissue type.
- Periwound: Shows maceration, erythema, edema, callus, scar, and adjacent breakdown.
Photograph before cleansing when the exudate amount and character matter, then photograph after cleansing when the wound bed and margins are visible. Obtain the required patient consent, use approved clinical storage, and avoid personal-device galleries or unsecured messaging. The image belongs in the EHR with the patient, wound site, date, and visit clearly connected.
Make the image agree with the note
Annotate the image with the clock-face orientation, undermining location, tunnel direction, and any relevant periwound finding. The numeric note should match the image, not contradict it. A caption might state: “Right plantar foot DFU, post-cleansing, 5.2 × 3.1 × 1.4 cm, undermining 2.0 cm at 3 o'clock, tunnel at 7 o'clock, moderate serosanguineous exudate, callused edge.”
For a practical walkthrough of marking up clinical images, use this annotating a picture guide. The same principle applies whether annotation is manual or built into a clinical documentation workflow. A calibration reference, consistent angle, and structured caption make the photograph useful to the next provider and to an auditor.
Tying Measurement to Wagner Grades and Debridement Codes
For diabetic foot ulcers, Wagner grading runs from grade 0 through grade 5, progressing from a pre-ulcerative lesion to extensive gangrene. The grade belongs in the initial evaluation and should be updated when the wound changes classification, as described in the Medicare-focused Wagner documentation reference.
The measurement note should support the grade. Record surface dimensions, depth, tissue exposed, probing-to-bone findings, infection-related observations, and gangrene when present. A numeric depth alone doesn't establish the classification. “0.8 cm deep” is less useful than “0.8 cm deep, full-thickness ulcer, no exposed tendon, joint, or bone, no probing to bone.”
CPT coding follows the tissue actually removed
For surgical debridement, CPT 11042 through 11047 are driven by the deepest tissue removed and the wound area after debridement. The code family progresses from skin and subcutaneous tissue to muscle or fascia and then bone, with add-on codes for additional surface area. For multiple wounds, combine only wounds treated to the same depth. Don't add square centimeters from wounds treated at different depths.
| CPT Code | Tissue depth | Surface area | Required documentation |
|---|---|---|---|
| 11042 | Skin and subcutaneous tissue | First 20 sq cm or less | Post-debridement area and deepest tissue removed |
| 11043 | Muscle and fascia | First 20 sq cm or less | Muscle or fascia removal, area, wound-bed findings |
| 11044 | Bone | First 20 sq cm or less | Bone removal, area, and supporting wound description |
| 11045 | Additional area with 11042 | Each additional 20 sq cm | Total area and relationship to 11042 |
| 11046 | Additional area with 11043 | Each additional 20 sq cm | Total area and relationship to 11043 |
| 11047 | Additional area with 11044 | Each additional 20 sq cm | Total area and relationship to 11044 |
For example, a plantar ulcer measuring 4.2 × 3.1 cm with a depth of 0.8 cm, no bone exposure, and a documented deepest removed layer of subcutaneous tissue supports a Wagner 2 description. If the total treated area meets the add-on threshold, the claim may use 11042 with 11045. The note must justify the surface area and state the tissue removed. Don't select a deeper code merely because the wound is deep, and don't add units without an area calculation.
Common Pitfalls and Payer Denial Traps to Avoid
A wound can look clinically improved and still produce a weak claim. Reviewers usually find the problem in the note, not at the bedside.
- Width exceeds length: Recheck the axes and state that length is the longest head-to-toe measurement.
- Depth appears without technique: Identify the deepest point, the instrument or probing method used, and the visible wound-bed tissue.
- Measurements are rounded: Use consistent precision, including millimeters when appropriate, rather than defaulting every wound to whole centimeters.
- Undermining lacks direction: Record clock position, depth, and extent. “Undermining present” isn't enough.
- The photograph has no scale: Add a calibration reference in the same plane as the wound.
- The note is copied forward: Re-measure every visit, even when the wound looks unchanged. If the number is unchanged, the assessment should still describe the current bed, edge, exudate, and periwound.
- Add-on units lack support: State total treated surface area and identify which wounds were treated at the same depth.
A copied measurement with a changed wound photograph creates more doubt than a carefully documented change.
Payers also look for mismatched diagnosis and procedure codes, no medical necessity connection between wound size and debridement depth, and a missing provider signature. A strong note connects the diagnosis, current measurements, tissue removed, treatment decision, and follow-up plan. CMS guidance also expects documentation of wound material that may inhibit healing or damage adjacent tissue, so record slough, eschar, callus, maceration, and other relevant findings rather than hiding them in a generic assessment.

Wound Measurement QA Checklist and Common Questions
Before signing, run the note through a short quality check:
- Axes: Length is head-to-toe, width is hip-to-hip.
- Units: Dimensions and calculated area are in centimeters and square centimeters.
- Depth: Deepest visible point is documented.
- Tracts: Undermining and tunneling include clock positions, depth, and extent.
- Photo: Calibration reference, consistent angle, and site identification are present.
- Trend: Current area and depth are compared with baseline.
- Coding: CPT depth, treated area, diagnosis, and Wagner grade agree.
For chronic wounds, weekly measurement is a defensible default. Measure more often when the area trend stalls or infection is suspected. Consider advanced therapy when the wound fails to show the expected response, including less than the applicable area reduction threshold at follow-up, increasing volume, progressing undermining, or a non-healing trajectory. Depth beyond Wagner 2 requires particular scrutiny and escalation based on the complete clinical picture, not a single number.
The dressing changes. The documentation survives the audit.
EkagraHealth AI helps wound care teams capture measurements and annotations from wound images, draft structured visit documentation, and connect wound findings with CPT and ICD-10-CM coding workflows. Visit EkagraHealth AI to see how a defensible wound measurement process can fit into point-of-care documentation.
