When you see a deep scrape or a second-degree burn, you're likely looking at a partial thickness wound. This is a specific kind of injury that goes through the skin's top layer (the epidermis) and cuts into the second layer (the dermis), but it stops there. It doesn't penetrate the deeper fatty tissue.
Getting this identification right from the start is the most critical first step in effective treatment. It dictates every decision that follows, from dressing selection to the expected healing trajectory. For clinicians in any setting—be it a skilled nursing facility, an outpatient clinic, or home health—mastering the assessment and management of these common wounds is a fundamental skill that directly impacts patient outcomes and operational efficiency. This guide will provide a comprehensive overview, equipping you with the knowledge to confidently identify, treat, and document partial thickness wounds according to the latest evidence-based practices.
Defining The Partial Thickness Wound
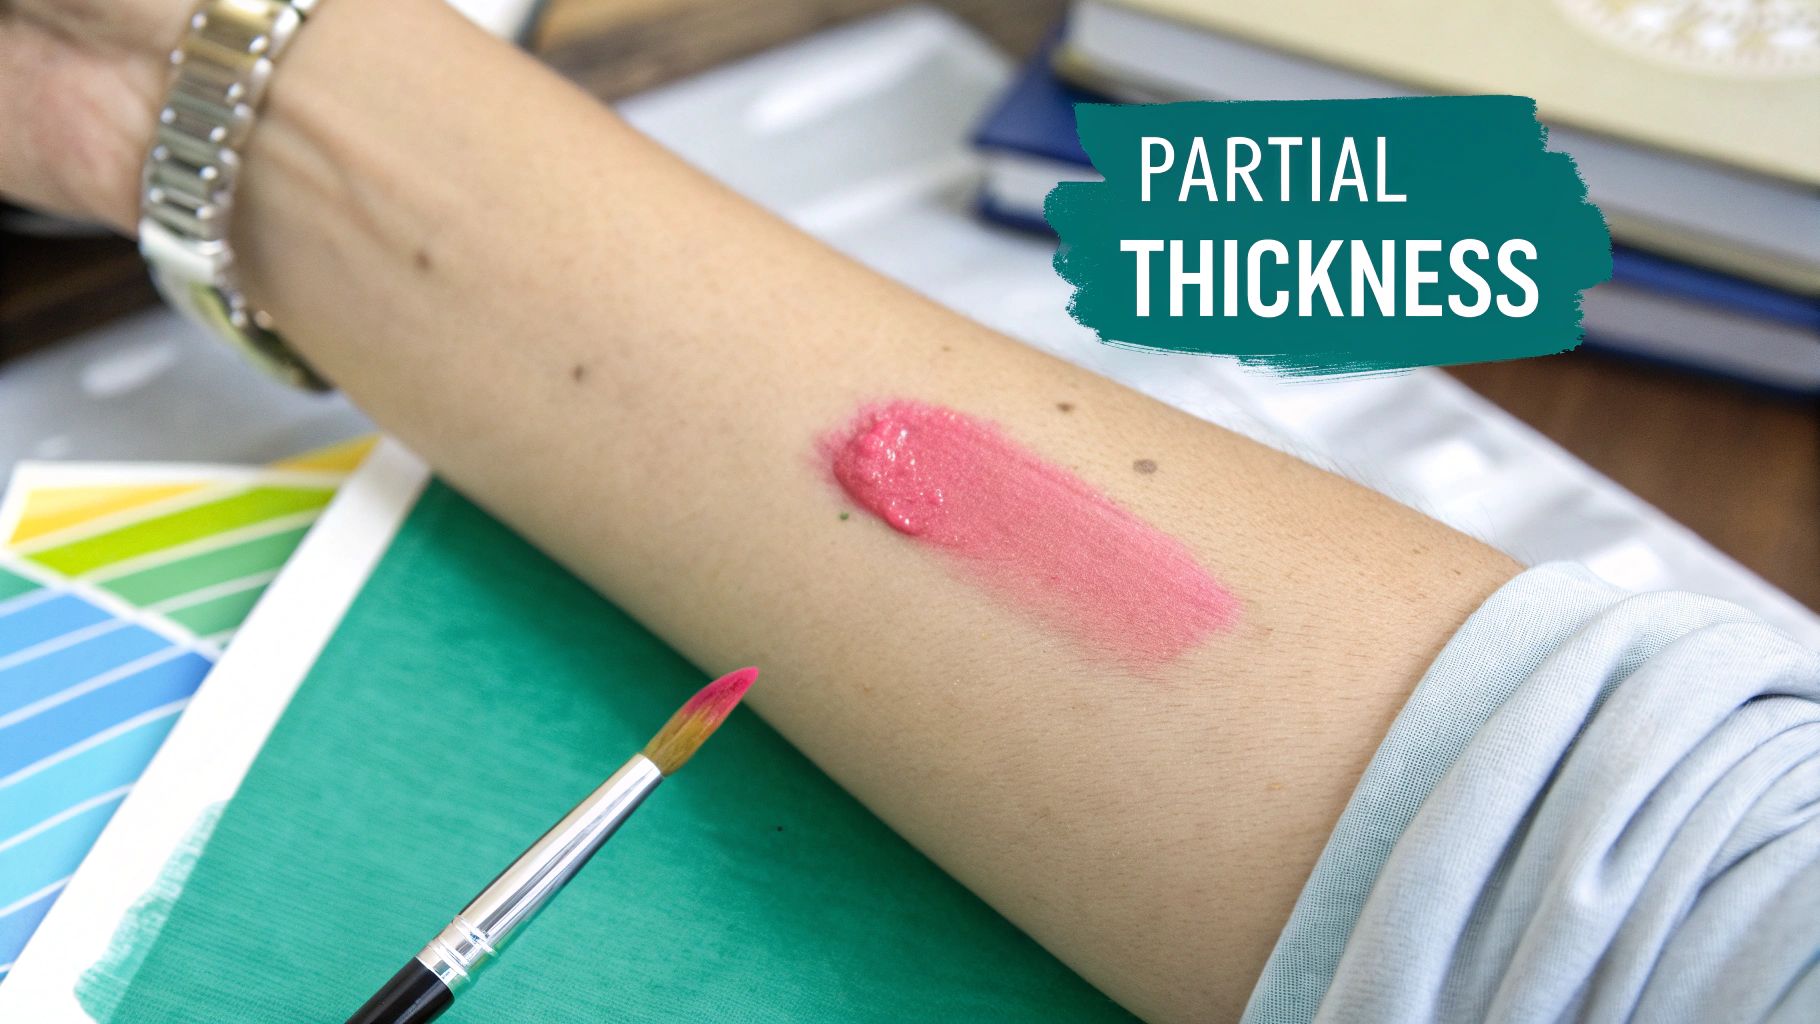
Let's break this down with a simple analogy. Think of your skin as a wall with two fresh coats of paint. The colorful topcoat is the epidermis, and the primer underneath is the dermis. A superficial scratch just scuffs the paint. A partial thickness wound, on the other hand, carves through both the paint and the primer but doesn’t damage the drywall (the subcutaneous tissue) underneath.
This isn't just a textbook definition; it's the bedrock of good wound care. A partial thickness wound is more serious than a simple scrape and needs a proper care plan to head off complications. Since the dermis is exposed, these wounds are typically painful, moist, and have a distinct pink or red appearance. This exposure of the dermis, which is rich in nerve endings and blood vessels, is what gives these wounds their characteristic look and feel. The primary healing mechanism for these injuries is epithelialization, a process where new skin cells migrate from the wound edges and remaining skin appendages (like hair follicles) to cover the defect.
Why Correct Identification Matters
Nailing the classification of a wound as partial thickness drives every clinical decision that follows. It shapes the treatment plan, determines the right dressing, and sets the right expectations for healing. An accurate initial assessment is paramount to preventing complications and ensuring a smooth recovery course for the patient.
If you mistake a deep partial thickness wound for a superficial one, you risk undertreating it, potentially leading to delayed healing or infection. On the flip side, misclassifying it as a full thickness wound can lead to treatments that are too aggressive, unnecessarily costly, and may even impede the natural healing process. For instance, using a debriding agent on a clean partial thickness wound bed would be inappropriate and harmful.
In skilled nursing facilities, outpatient clinics, and home health, getting the initial assessment right is everything. It's how you prevent infection, manage pain, and kickstart an efficient healing process from day one. This initial step sets the entire tone for the patient's care journey.
Prevalence and Clinical Significance
Partial thickness wounds are far from a niche problem—they make up a huge chunk of the complex wounds we see every day. A major survey highlighted just how common this is, finding a point prevalence of complex wounds at 1.47 per 1,000 people.
While pressure and leg ulcers get a lot of attention, the study found that about 20% of cases were other types of wounds, a category where partial thickness injuries are common. You can explore the complete study findings to see the full scope. This data shows just how vital it is to get good at identifying and managing these wounds, especially as the patient population ages and the incidence of chronic conditions that affect skin integrity, such as diabetes and vascular disease, continues to rise. The clinical and economic burden of these wounds underscores the need for skilled clinicians who can provide effective, efficient care.
Visually Identifying a Partial Thickness Wound
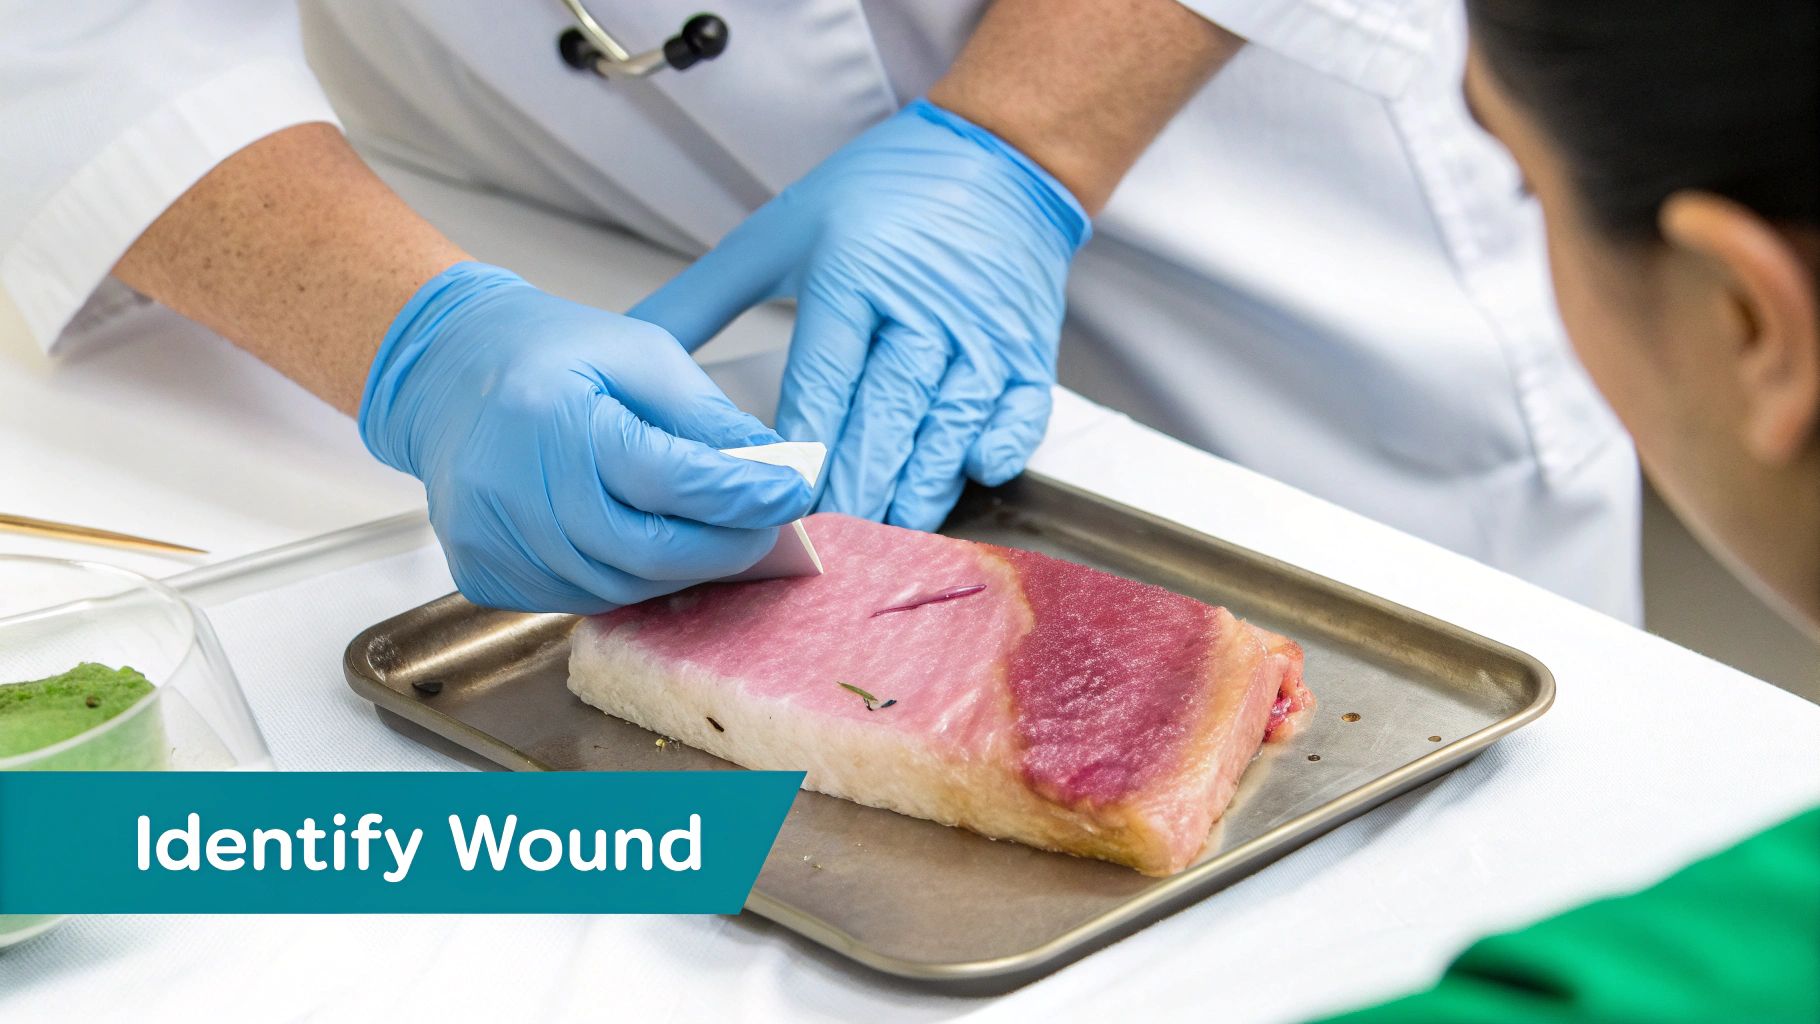
When you're at the bedside, being able to confidently tell a partial thickness wound from a simple scrape or a much deeper, full-thickness injury is a critical skill. It really just comes down to knowing a few key visual cues. Once you know what to look for, the picture of a partial thickness wound becomes unmistakable.
Let's say you're looking at a fresh wound. The first thing that will likely jump out at you is the color and texture. A classic partial thickness wound has a pink or red wound bed, and it’s almost always moist or weeping. That moisture is just serous fluid, a totally normal part of the early healing cascade. The presence of this exudate is a positive sign, indicating that the wound is in the inflammatory phase of healing and has the necessary components to support cell migration.
Because the injury has only gone through the epidermis and into the dermis, you're looking at a living, vascularized layer of skin. That’s why the color is so vibrant. It's also why these wounds tend to hurt so much—the nerve endings in the dermis are exposed. This pain can be a significant management challenge and should be a key consideration in your treatment plan, influencing dressing choice and handling techniques during care.
What You Should See in the Wound Bed
The clearest clues are always right there in the wound bed itself. A quick visual inspection can tell you if you're looking at healthy, viable tissue that's ready to start healing.
Here’s your checklist:
- Shallow Depth: The wound should look shallow, a lot like a bad scrape or the base of a blister that just popped. You won't see any subcutaneous fat or deeper tissues. The overall contour is superficial.
- Pink or Red Tissue: The base should be a consistent pink or bright red, which is a great sign of good blood flow to the dermis. This indicates viable, healthy tissue that will support regeneration.
- Moist Surface: You'll usually see a glistening, moist surface from the exudate produced during the inflammatory phase. This moist environment is essential for cell migration and efficient healing.
This classic appearance is the hallmark of a wound that will heal primarily by epithelialization, where new skin cells crawl across that moist surface from the edges and any remaining hair follicles.
What You Should Not See
Knowing what not to see is just as important. The absence of certain tissues is what really helps you differentiate. If you spot any of the following, you're almost certainly dealing with a full-thickness injury.
You should not find:
- Slough: This is that yellow, tan, or gray dead tissue, often with a stringy look. If it's there, the damage has gone deeper, indicating necrosis that extends beyond the dermis.
- Eschar: This is the black or brown, dry, leathery necrotic tissue. Eschar is a dead giveaway for full-thickness tissue death.
- Granulation Tissue: While that bumpy, beefy red granulation tissue is a good thing in deep wounds, it’s not part of the partial thickness healing process. Partial thickness wounds regenerate, they don't granulate.
- Subcutaneous Fat, Muscle, or Bone: Seeing any of these deeper structures immediately classifies the wound as full-thickness and requires a completely different management strategy.
Think of it this way: a partial thickness wound is a clean slate. It’s an injury down to a healthy, living layer of skin. The presence of dead tissue like slough or eschar means the injury has gone deeper, complicating the healing process.
To help you put this into practice, we've created a simple comparison table to quickly differentiate between partial and full thickness wounds at a glance.
Partial Thickness vs Full Thickness Wound Characteristics
| Characteristic | Partial Thickness Wound | Full Thickness Wound |
|---|---|---|
| Depth | Shallow, involves epidermis and dermis only | Deep, extends into subcutaneous tissue, possibly to muscle or bone |
| Wound Bed Color | Pink or bright red | Can be red, yellow, tan, brown, or black |
| Wound Bed Tissue | Viable dermal tissue, moist | May contain slough, eschar, granulation tissue, fat, muscle, or bone |
| Pain Level | Typically painful due to exposed nerve endings | Pain can be variable; may be less painful if nerve endings are destroyed |
| Healing Process | Epithelialization (regeneration) | Granulation, contraction, and epithelialization (repair) |
| Common Examples | Stage 2 pressure injuries, 2nd-degree burns, skin tears, abrasions | Stage 3 & 4 pressure injuries, 3rd-degree burns, surgical wounds |
This table serves as a quick reference, but remember that a thorough clinical assessment is always the final word.
In your day-to-day practice, you'll see partial thickness wounds all the time as Stage 2 pressure injuries, second-degree burns, and many skin tears. Getting the classification right, like correctly identifying a Stage 2 pressure injury, is vital for both your care plan and for regulatory compliance. You can see more examples in our detailed pressure injury staging guide.
This is also where modern tools are making a huge difference. Technology that allows for precise image annotation helps standardize how every single clinician documents these visual cues. It ensures that when one person documents the wound bed color, tissue type, and periwound skin, it's captured the same way every time. This consistency is the key to creating an objective record and accurately tracking whether a wound is getting better or worse.
Choosing The Right Treatment And Dressing
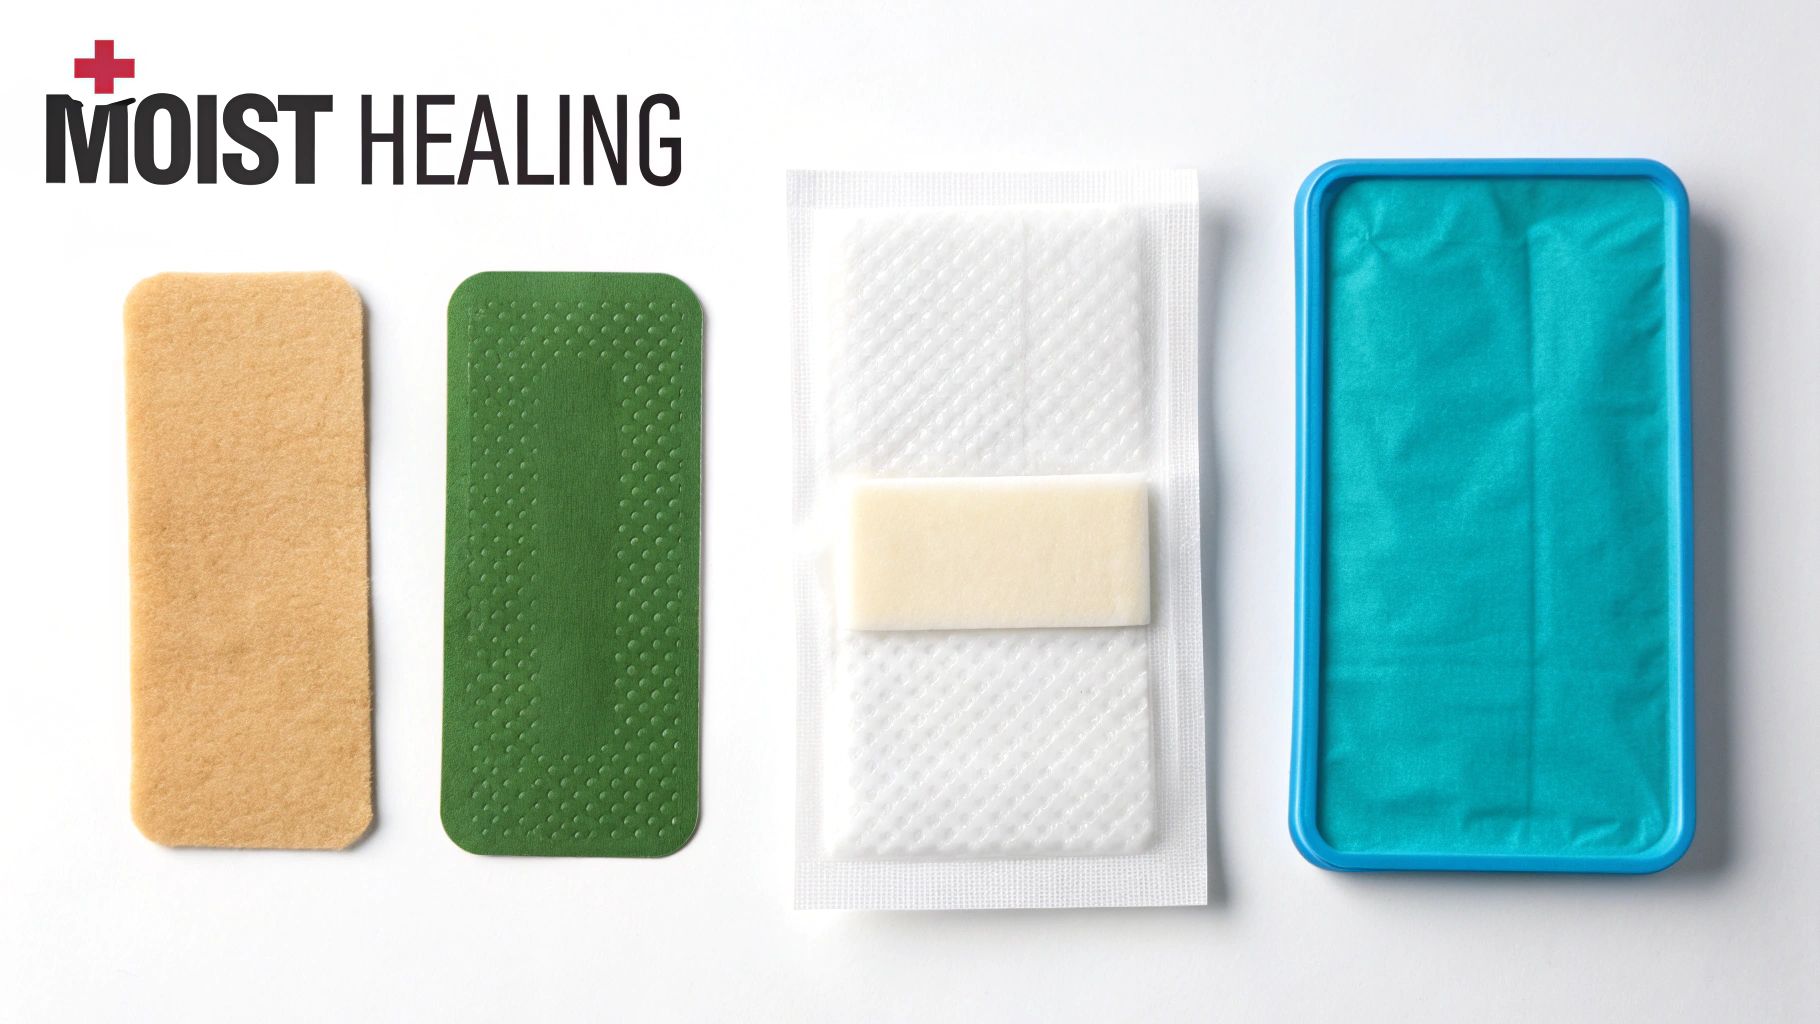
When you're managing a partial-thickness wound, everything comes down to one core principle: creating a moist healing environment. This isn't just a matter of slapping on a bandage; it's about partnering with the body’s own incredible healing process. Our main goal is to promote epithelialization—the migration of new skin cells across the wound bed to close the gap.
Think of that wound bed as a busy construction site for new skin. If the ground is too dry and cracked, the cellular "workers" can't move, and the whole project grinds to a halt. On the flip side, if the site is a swamp, the healthy skin around the edges gets waterlogged and starts to break down (a condition known as maceration). The right dressing is your site manager, striking that perfect moisture balance. A properly selected dressing will protect the wound from trauma, prevent infection, manage exudate, and facilitate the body's natural healing cascade.
Matching The Dressing To The Wound
Picking the right dressing isn't about loyalty to a particular brand. It’s about matching the dressing's function to what the wound needs right now. A partial-thickness wound can have wildly different levels of exudate, or drainage, and your dressing choice has to be just as adaptable. This methodical approach doesn't just speed up healing; it makes a world of difference for your patient's comfort.
For a wound that's on the drier side—like a simple scrape or a skin tear with minimal weeping—the goal is to hang onto the little bit of moisture the body is producing.
- Transparent Films: These are fantastic for low-exudate wounds. They’re semi-permeable, letting oxygen in while keeping bacteria and contaminants out, creating the ideal microenvironment for those epithelial cells to get to work. They also allow for easy visual inspection of the wound without removing the dressing.
- Hydrogels: These dressings, available as sheets or gels, are often over 90% water. They actively donate moisture to a dry wound bed, rehydrating tissue and providing a soothing, cooling sensation that can really help with pain.
Now, if you're dealing with a wound that has moderate exudate—think a second-degree burn or a more serious skin tear—the game changes. We're no longer donating moisture; we're managing it.
- Hydrocolloids: These wafers interact with wound drainage to form a soft gel, absorbing light to moderate amounts of fluid while keeping the wound surface moist. They also provide great insulation and protection, and their occlusive nature can aid in pain management.
- Foam Dressings: These are the real workhorses for moderately exuding wounds. Their absorbent core wicks excess fluid away, protecting the periwound skin from maceration while maintaining that optimal moisture level right where it counts. They come in various thicknesses and adhesive options to suit different needs.
It really boils down to this: For dry wounds, add moisture. For wet wounds, manage moisture. The dressing is simply the tool you use to achieve that critical balance.
Evidence-Based Practices In Dressing Selection
This isn't just gut instinct; it's solid science backed by decades of research. Making the right dressing choice directly impacts clinical outcomes, patient comfort, and even your facility's bottom line. This is especially true when you realize how many costly, complex wounds start out as simple partial-thickness injuries.
Consider the global prevalence of diabetic foot ulcers (DFUs), which sits around 6.4% and skyrockets to 13% in North America. Many of these begin as minor skin loss. Venous ulcer treatments, frequently for partial-thickness wounds, represent a massive market; compression therapy alone accounted for a 62% share in 2018. Add in the 2.5 million pressure ulcer cases in the US annually, and the financial necessity of effective, evidence-based treatment is impossible to ignore. You can read more about the economic impact of wound care to grasp the full scale of the issue.
Creating A Clear Record Of Care
It's crucial to connect your dressing choice to your clinical assessment. Your documentation needs to tell a clear, logical story that justifies your treatment plan. This creates a defensible record and ensures continuity of care between clinicians.
For example, if you document a partial-thickness wound as having "scant serous exudate," choosing a hydrogel makes perfect sense. If your note describes "moderate serosanguinous drainage," selecting a foam dressing is the logical, evidence-based move. For a deeper dive, check out our guide on 10 evidence-based wound dressing selection strategies.
This is where a truly integrated documentation platform shines. By capturing wound characteristics and treatments in a structured way, you create a clear, auditable trail. It improves communication during handoffs and ensures every decision aligns with best practices—ultimately leading to better, faster healing for every partial-thickness wound you manage.
Mastering Wound Documentation and Measurement
In wound care, if it isn't documented, it didn't happen. That’s the golden rule. Creating a clear, defensible story of a patient's healing journey demands a systematic approach to measuring and describing a partial-thickness wound.
This isn't just about plugging numbers into a chart. It’s about capturing a detailed snapshot in time. Every element you record helps build a complete clinical picture, ensuring continuity of care and justifying every treatment decision you make. Meticulous documentation is your primary tool for tracking progress, communicating with the care team, and ensuring appropriate reimbursement for the services provided.
The Fundamentals of Wound Measurement
When you’re assessing a partial-thickness wound, your focus is on two key dimensions: length and width. Because these wounds are by nature superficial, depth is usually minimal or not a factor at all.
- Length: Always measure the longest distance from head-to-toe (superior to inferior), regardless of the wound's shape.
- Width: Then, measure the widest distance from side-to-side, perpendicular to the length.
Always grab a disposable measuring guide and document everything in centimeters. The key here is consistency. If you measure the same way every time, you can truly track progress—or lack thereof. An accurate series of measurements over time provides objective data on whether the wound is closing as expected.
But the numbers are only half the story. You also need to describe the wound’s characteristics. This narrative component is what brings the clinical notes to life.
- Wound Bed: What does it look like? For a partial-thickness wound, you should be charting things like "pink/red viable tissue" or "moist epithelializing tissue." Note the percentage of viable tissue present.
- Periwound Skin: Look at the skin around the wound. Is it intact? Or is it macerated (waterlogged), erythematous (red), or showing other signs of trouble like induration or rash?
- Exudate: Describe the drainage. Note both the amount (scant, minimal, moderate) and the type (serous, serosanguinous). These details are crucial for backing up your dressing choices.
Best Practices for Clinical Photography
Let's be honest, a picture is worth a thousand words—and probably a thousand dollars in avoided claim denials. High-quality photos provide an objective, visual record of the wound that perfectly complements your written notes.
A clear photograph is your best evidence of a wound's condition at a specific moment. It validates your measurements, supports your clinical assessment, and creates an undeniable visual timeline of healing progress or decline.
To make sure your photos are actually useful, follow a few simple rules:
- Use the same lighting and background for every single photo to ensure consistency.
- Always include a disposable measuring guide in the shot for scale.
- Take pictures from the same angle and distance each time. Consistency is king.
- Make sure the image is in sharp focus, clearly showing the wound bed and surrounding skin.
- Obtain patient consent before taking any photographs and follow all facility privacy policies.
This visual evidence is absolutely invaluable for team huddles, payer audits, and defending your level of care.
The Rise of Automated Wound Assessment
For decades, measuring and documenting wounds has been a manual, time-consuming grind. It’s also surprisingly prone to human error. One clinician might measure just a little differently than the next, creating frustrating inconsistencies in the patient's record.
But that’s all changing. Modern tools are now automating the entire process.
Simply by taking a photo with a smartphone or tablet, AI-powered platforms can instantly analyze the image and spit out precise, objective measurements. This completely removes the guesswork and the variability that comes with doing it by hand.
Here’s a great example of how this works in practice, with a tool designed to capture, analyze, and document wound images automatically.
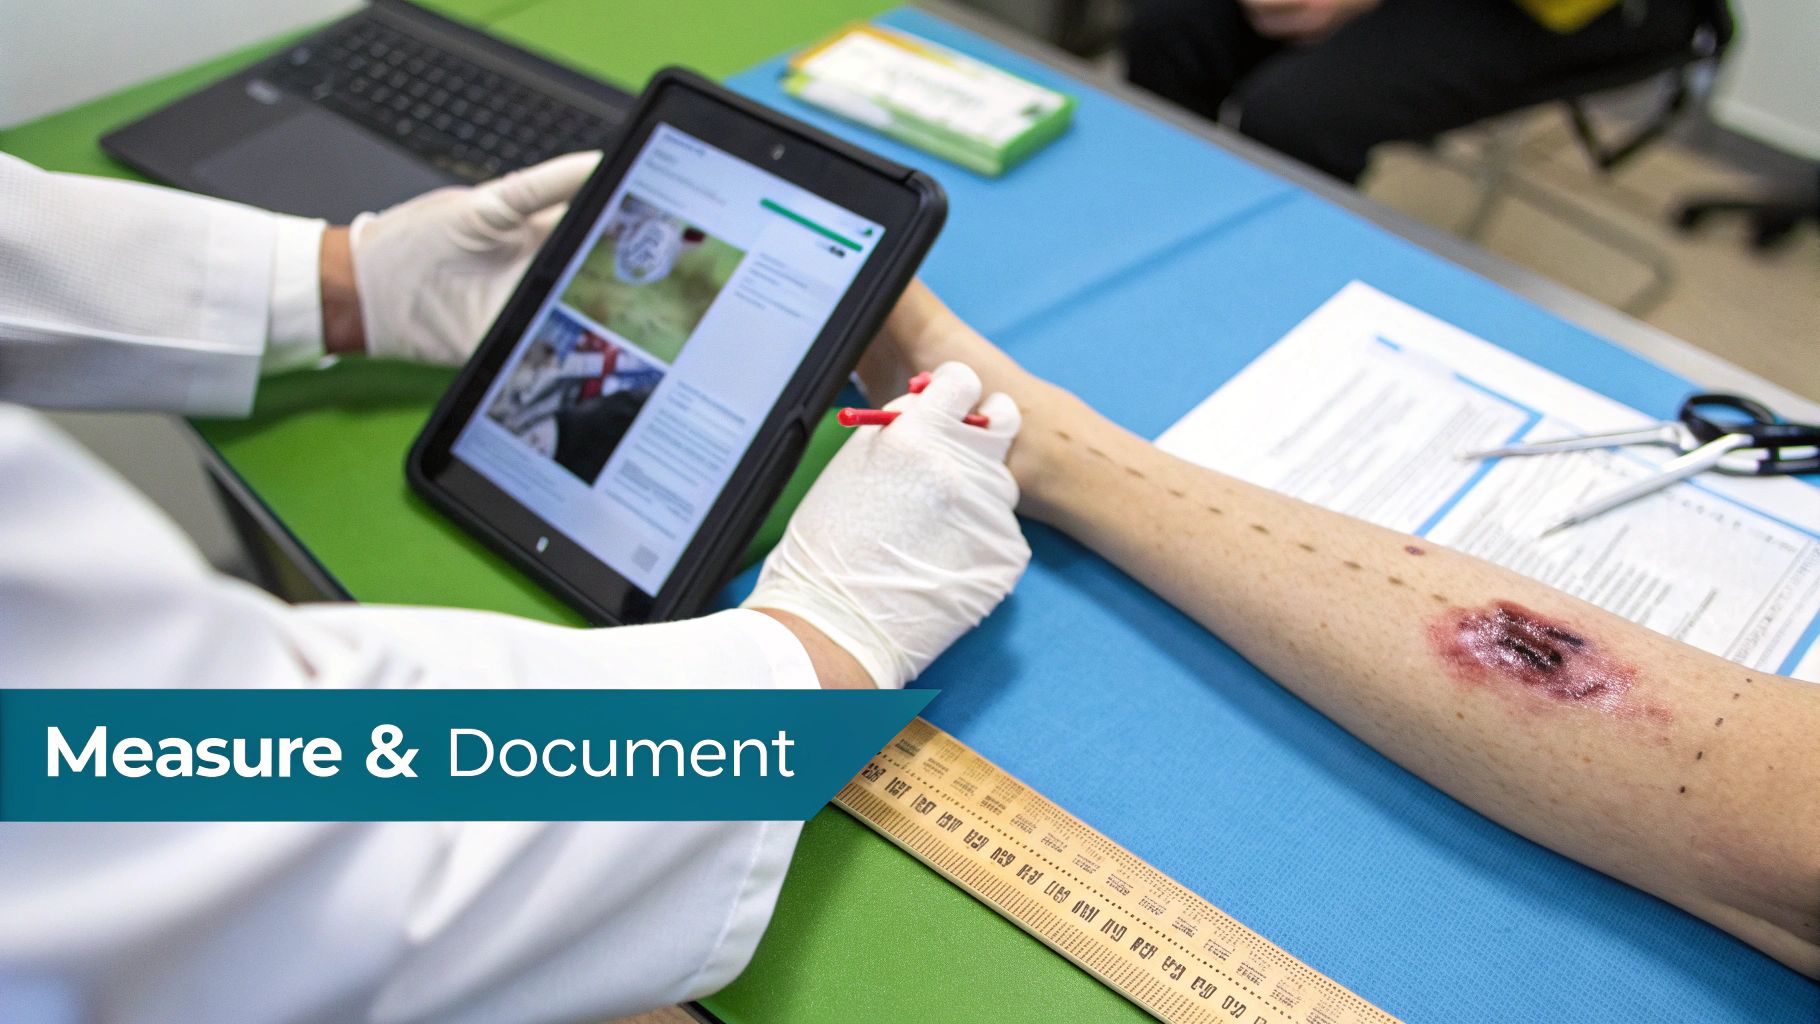
This image shows a clinician using a mobile device right at the bedside to snap a high-res photo. Behind the scenes, AI is generating accurate measurements and annotations from that single image, streamlining the entire workflow.
The impact is huge. It saves clinicians valuable time, letting them focus more on the patient and less on the paperwork. More importantly, it guarantees every measurement is consistent and every note is standardized. This creates a rock-solid, defensible clinical record that tells a clear story of healing, all backed by objective data from day one.
Connecting Documentation To Reimbursement
In the world of wound care, your clinical notes are much more than a patient record—they're the direct line to getting paid. For every partial thickness wound you manage, the details you document must paint a crystal-clear picture that justifies the billing codes you submit. Think of your notes as the evidence that proves the medical necessity of your care.
This is where revenue cycles live or die. A tiny detail, like specifying the exact location and laterality of a Stage 2 pressure injury, can be the difference between a clean claim paid on time and a frustrating denial that eats up hours in administrative follow-up. In a fee-for-service model, poor documentation directly translates to lost revenue. In value-based care, it can negatively impact quality metrics and performance bonuses.
From Clinical Details To Correct Codes
Every single element of your wound assessment translates directly into a code. Payers use ICD-10 codes to understand the diagnosis and CPT codes to understand the services you performed. If your notes are vague, you're creating ambiguity, and that gives payers an easy reason to reject the claim.
Let’s look at a real-world example:
- A Vague Note: "Patient has a pressure ulcer on their back." This is practically an invitation for a denial. It lacks all the key details needed for accurate coding.
- A Specific Note: "Patient presents with a 2.5 cm x 1.8 cm partial thickness wound, consistent with a Stage 2 pressure injury, located on the right sacrum. Wound bed is pink and moist with no slough. Periwound skin is intact."
This second, detailed description gives you everything you need to support a specific ICD-10 code, like L89.152 (Pressure ulcer of sacral region, stage 2). There’s no room for interpretation, which is exactly what you want for a strong, clean claim.
The story your documentation tells must perfectly align with the story your codes tell. When these two narratives match, the path to reimbursement is smooth. When they don't, you hit roadblocks like denials and payment delays.
Avoiding Common Documentation Pitfalls
Most claim denials I see stem from a handful of common documentation mistakes that are, thankfully, pretty easy to fix. Just being mindful of these can dramatically boost your clean claim rate.
Some of the most common pitfalls include:
- Lack of Specificity: Forgetting to document the exact anatomical location, laterality (right vs. left), and staging of a wound.
- Inconsistent Measurements: Documenting wound dimensions that don't show a clear trend, often because different people are using slightly different techniques.
- Missing Justification: Failing to connect the dots between the wound's specific characteristics (like exudate level or tissue type) and the treatment or dressing you chose. For example, not documenting the amount of exudate when billing for an absorptive dressing.
Getting these fundamentals right is crucial. For a much deeper dive, our ICD-10 and CPT coding guide for wound care billing gives you a complete roadmap for navigating these complexities.
Automating The Path To Clean Claims
Here's the challenge: creating this level of detailed, compliant documentation by hand is slow and full of opportunities for human error. It’s tough to do consistently under pressure. This is where an integrated system becomes a game-changer, bridging the gap between what you see at the bedside and what the billing office needs.
Imagine just speaking your assessment notes naturally during a visit. An AI-powered system can instantly capture your words and map them to the correct, highly specific ICD-10 and CPT codes. It’s like having a translator that fluently speaks both clinical and billing languages.
This process builds a clean claim from the moment you document, practically eliminating the painful back-and-forth of denials and rework. By automating this critical connection, you not only get paid faster, but you also give your clinical team back the time they need to focus on what really matters—caring for patients and guiding them toward healing.
Monitoring Healing And Spotting Complications
A healing partial-thickness wound isn’t a single event—it’s a dynamic process. Your ability to read the signs of progress and, more importantly, spot trouble early, is what separates a good outcome from a great one. It’s all about tracking the wound along its expected healing path and knowing exactly when to step in if it starts to veer off course.
The typical journey for these wounds is all about epithelialization. Picture new skin cells marching in from the edges and from any surviving hair follicles, steadily covering that moist, pink wound bed. When everything goes right, this process is remarkably efficient and leaves very little scarring. Consistent, data-driven observation is how we make sure it stays on track. A healthy partial thickness wound should show signs of decreasing size and exudate with each dressing change.
Distinguishing Inflammation From Infection
One of the sharpest skills you can develop in wound care is telling the difference between a normal inflammatory response and the first whispers of infection. The initial healing phase always brings some redness, warmth, and swelling—that’s just the body’s first responders arriving on the scene.
But infection takes those normal signs and cranks up the volume, adding a few new, more alarming symptoms to the mix.
- Normal Inflammation: You’ll see a little pinkness or mild redness right around the wound edges (periwound erythema). The warmth is minimal and stays local. Any drainage is usually clear or straw-colored (serous) and tapers off over time.
- Signs of Infection: The redness starts to spread, sometimes with red streaks moving away from the wound (a classic sign of lymphangitis). The pain gets worse instead of better. Drainage might increase, turn cloudy or thick (purulent), and start to smell foul. The patient may also develop systemic signs like fever or malaise.
When assessing a partial-thickness wound, escalating pain is often the first and most reliable sign a patient will report that something’s wrong. A wound that was getting better and suddenly becomes more painful demands an immediate, closer look.
Creating A Visual Healing Timeline
This is where consistent data capture turns subjective guesswork into objective progress tracking. By documenting measurements and taking standardized photos at every visit, you're not just treating a wound; you're creating a visual timeline. This data-driven approach lets you see subtle changes over time, giving you clear proof of healing or flagging a stall that requires a new game plan.
The burden of partial-thickness wounds is huge and growing, especially with our aging population. In the US alone, 2.5 million people develop pressure ulcers each year, and many of these are Stage II partial-thickness wounds. Factor in a global diabetic population expected to hit nearly 700 million by 2045, with a 25% lifetime risk of developing a foot ulcer, and you can see why proactive monitoring isn't a luxury—it's essential. These trends highlight the urgent need for smarter workflows in wound clinics and home health settings. Learn more about these public health challenges.
When you use tools that automate measurements and standardize your photo documentation, you create an irrefutable record of care. This doesn’t just help you justify clinical decisions and prove medical necessity for payers; it gives you the clear, objective evidence you need to guide every single patient toward a successful outcome.
Common Questions About Partial Thickness Wounds
When you're in the trenches managing partial-thickness wounds, the same questions tend to pop up. Let's tackle a few of the most common ones to sharpen your clinical instincts and clear up any lingering uncertainties.
How Long Does A Partial Thickness Wound Typically Take To Heal?
For a healthy patient, you're usually looking at a healing window of about one to three weeks. Think of this as a best-case scenario.
Of course, several factors can easily push that timeline out. A patient's age, nutritional habits, comorbidities like diabetes, and even the wound's location all have a say in the healing pace. For example, a wound on a highly mobile joint may take longer to heal than one on a less mobile area. The real key to staying on track is consistent, evidence-based wound care. If you see healing stall or lag beyond this typical timeframe, it's a red flag that something else is going on—such as an underlying infection, poor perfusion, or inadequate nutrition—and needs a closer look.
Can A Partial Thickness Wound Become A Full Thickness Wound?
Yes, and it happens more often than we'd like. A partial-thickness wound can absolutely break down and turn into a much more serious full-thickness injury if it isn't managed correctly. When this happens, you're looking at a completely different treatment plan and a much longer road to recovery.
What causes this downward slide? A few usual suspects:
- Infection: Once bacteria take hold, they can quickly chew through healthy tissue, deepening the wound.
- Pressure: Constant, unrelieved pressure is a classic culprit, choking off blood supply and causing tissue to die.
- Friction or Shear: That constant rubbing or pulling on the skin can mechanically degrade the wound bed over time.
- Improper Moisture Balance: Allowing the wound to become too dry can lead to desiccation and cell death, while excessive moisture can cause maceration of the periwound skin, enlarging the wound.
This is why sharp, consistent monitoring is so important. You have to catch these issues early to prevent a straightforward partial-thickness wound from becoming a complex, full-thickness nightmare.
Is A Blister Considered A Partial Thickness Wound?
Absolutely. A clean, intact blister—like the kind you'd see from a second-degree burn—is a perfect example of a partial-thickness wound. The bubble you see is the epidermis lifting away from the dermis, but the tissue underneath is still a viable, though injured, partial-thickness wound bed.
The big clinical question is always whether to leave a blister intact or debride it. This really comes down to its size, where it's located, and the odds of it popping on its own. Your main goal is to shield that fragile, healing tissue underneath from infection and further injury. Generally, large or tense blisters, or those over joints that are likely to rupture, are candidates for aspiration or de-roofing under sterile conditions.
Tired of the endless cycle of documenting, coding, and billing? Ekagra Health AI takes the entire wound care workflow off your plate. Use simple voice commands and let our AI handle the charting, measurements, and billing automation so you can get back to focusing on your patients. See how it works at https://ekagrahealth.ai.
