
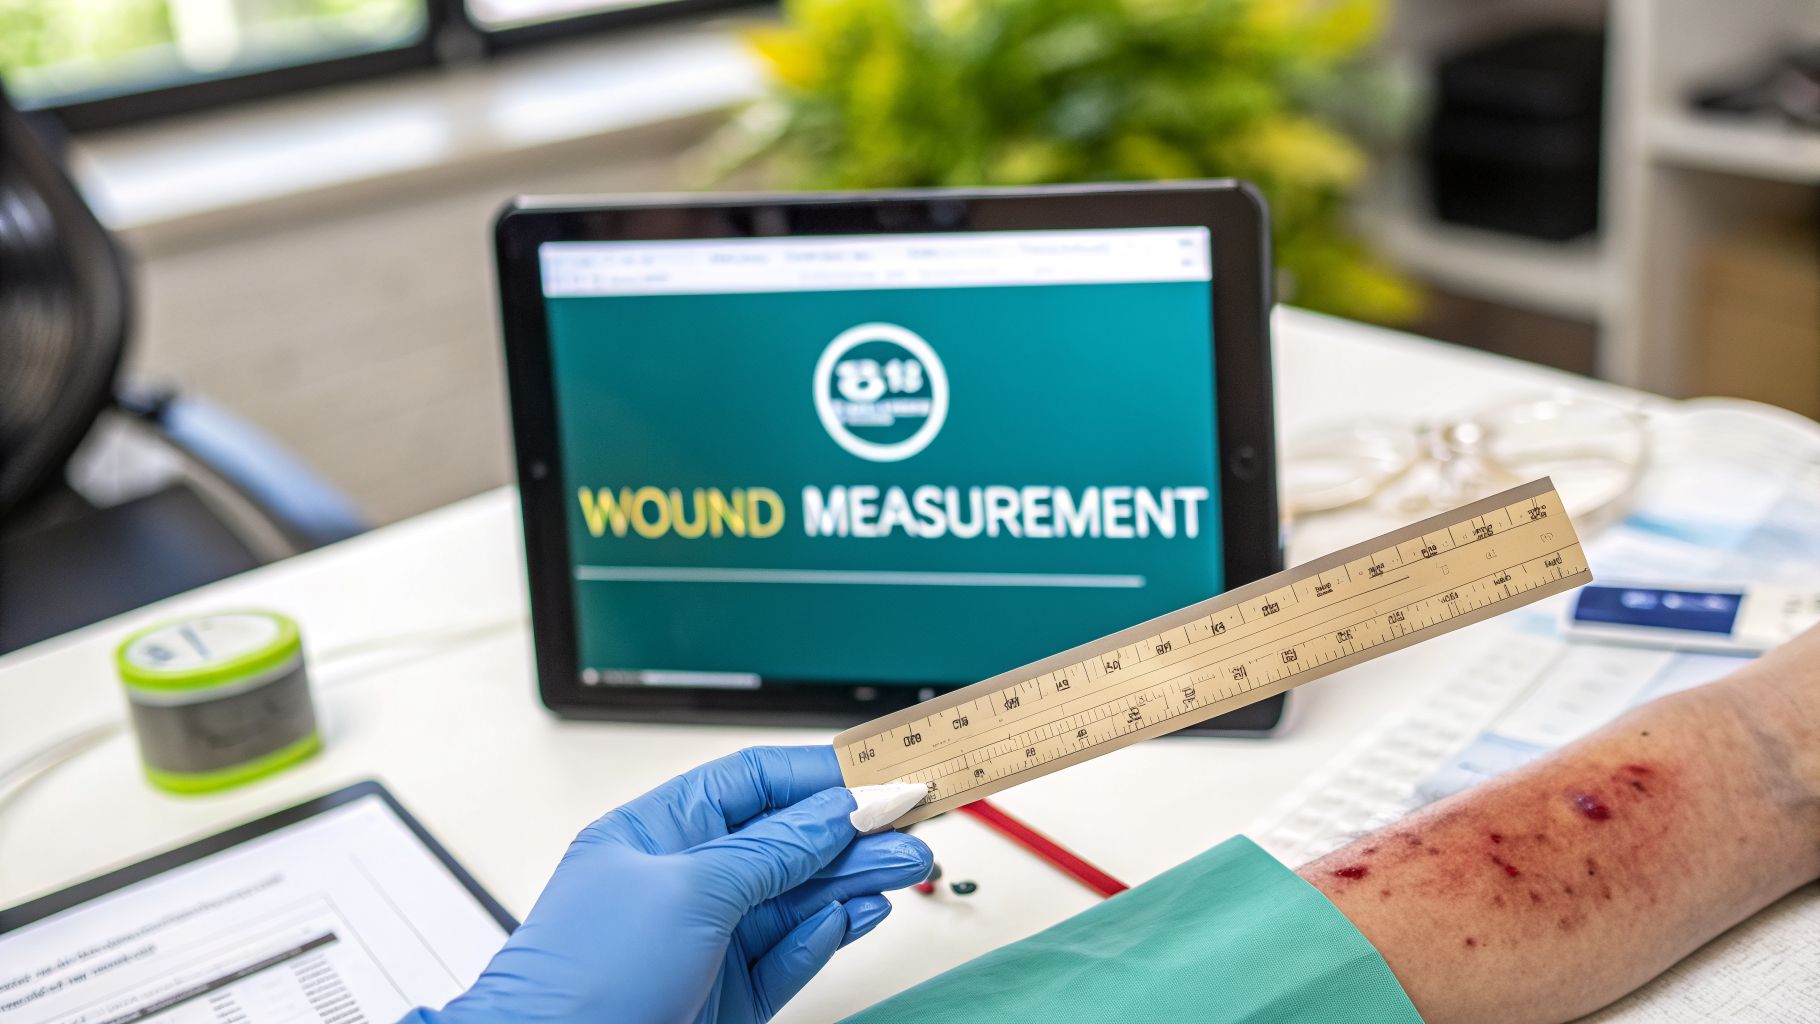
Accurate wound measurement is the cornerstone of effective wound care, yet it remains one of the most challenging aspects of clinical documentation. Inconsistent methods lead to flawed data, stalled healing, and compliance risks. This guide moves beyond basic techniques to provide a deep dive into eight critical wound measurement examples, complete with strategic analysis and actionable tips.
Achieving better patient outcomes and accurate billing begins with a robust approach to clinical documentation. Our comprehensive guide to accurate wound measurement methods directly supports effective Clinical Documentation Improvement, which is essential for any practice's financial health and patient care standards. We'll break down the what, why, and how of each method-from traditional L×W×D and the PUSH tool to advanced 3D volumetric analysis.
Whether you work in a hospital, home health, or a specialized clinic, these examples will equip you to standardize your practice and improve documentation quality. This article presents specific tactics you can implement immediately to ensure your measurements are precise, repeatable, and supportable for both clinical and billing purposes. We will also explore how modern AI tools can automate these processes, reducing documentation burden and improving the accuracy of your 'voice to claim' workflow.
1. Length × Width × Depth (L×W×D) Measurement Method
The Length × Width × Depth (L×W×D) method is a foundational technique in wound care, providing a standardized, three-dimensional measurement. This approach uses a consistent orientation: length is measured from head-to-toe (cephalad-caudal axis), and width is measured side-to-side (perpendicular to length). Depth is assessed by gently inserting a sterile, cotton-tipped applicator into the deepest part of the wound bed. This numeric baseline, recorded in centimeters, is a critical component of wound measurement examples and essential for tracking progression or regression over time.
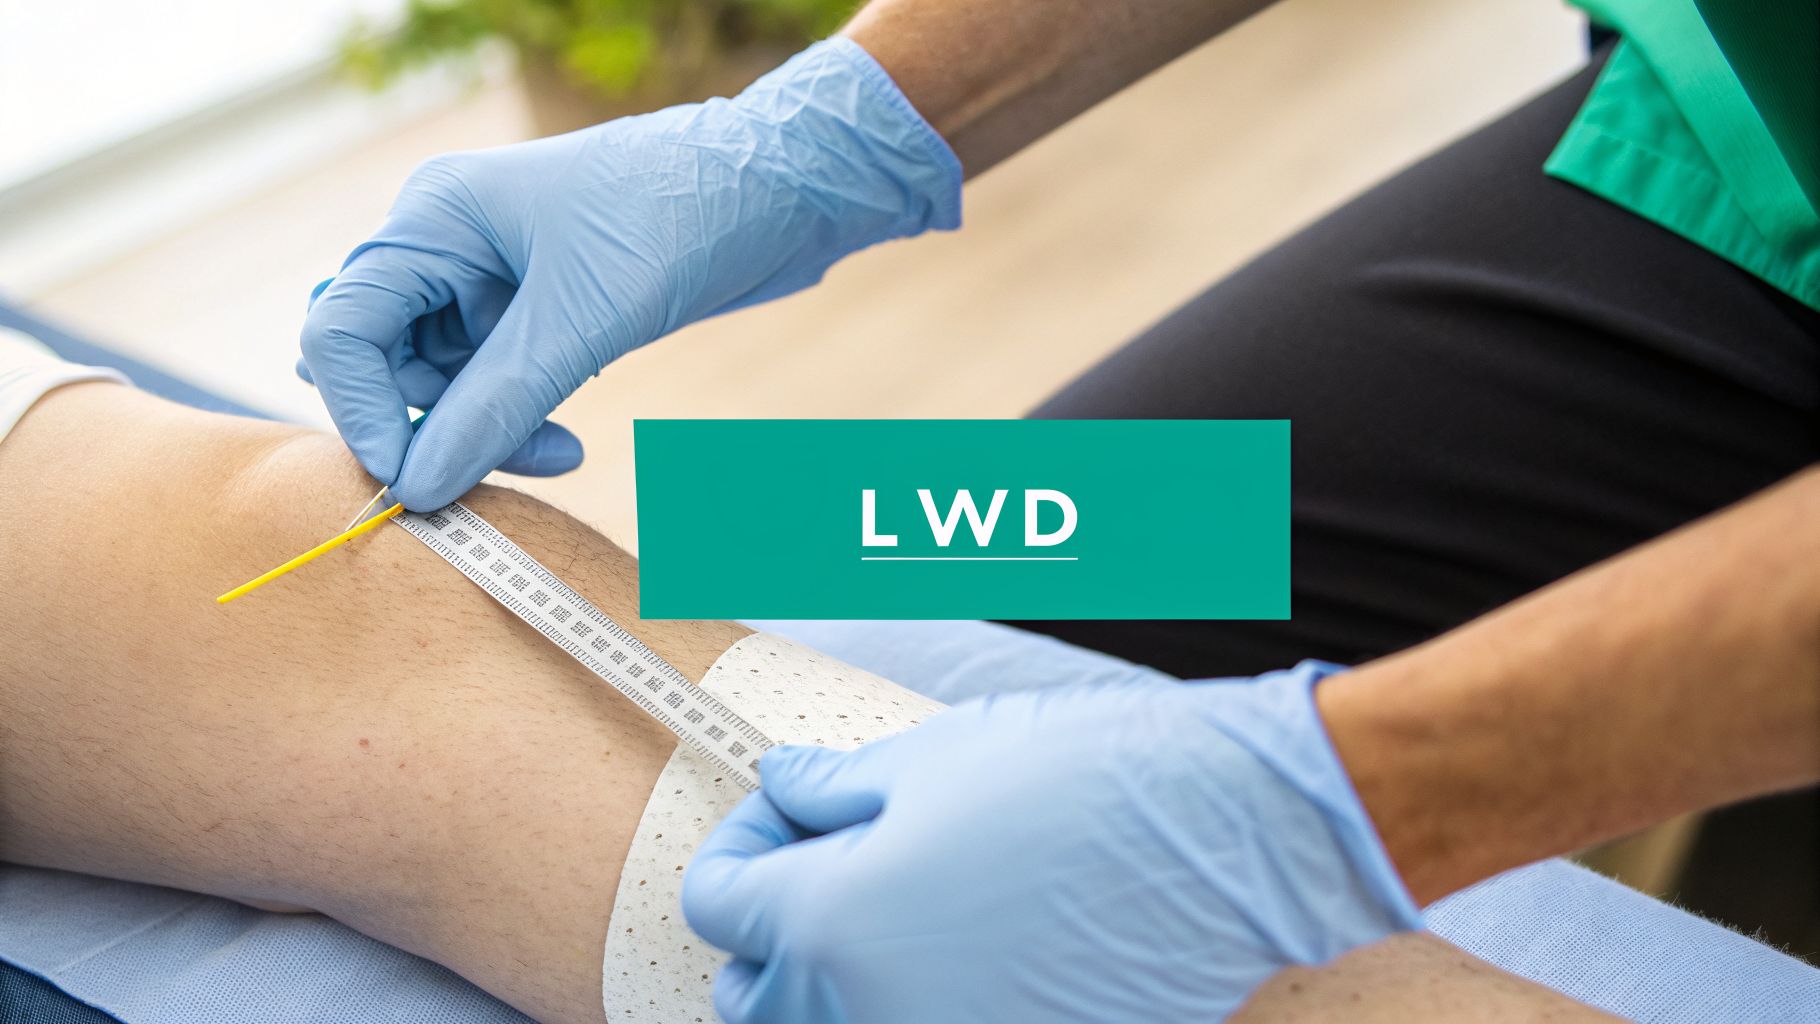
This method is the most widely used manual measurement system because of its simplicity and the quantitative data it produces. For instance, a skilled nursing facility (SNF) can track a Stage 2 sacral pressure injury, documenting its dimensions weekly to justify the care plan. Similarly, a podiatry clinic can monitor a diabetic foot ulcer, noting a change from "3.5 × 4.0 × 1.2 cm" to "2.5 × 3.0 × 0.8 cm" to demonstrate effective offloading and treatment.
Actionable Tips for L×W×D Measurement
To ensure accuracy and reduce variability, clinicians should follow specific protocols.
- Consistent Tools: Always use the same type of disposable paper or plastic ruler for surface measurements and a sterile applicator for depth.
- Anatomical Landmarks: Document the wound's position relative to a stable anatomical landmark (e.g., "5 cm superior to the medial malleolus"). This helps confirm the wound's location in subsequent visits.
- Patient Positioning: Record the patient's position (supine, prone, seated) during measurement, as body posture can slightly alter wound dimensions.
- Standardized Technique: Orient the ruler consistently with the length as the 12-to-6 o'clock axis and width as the 9-to-3 o'clock axis, regardless of the wound's shape.
Clinical Insight: While L×W×D is excellent for tracking linear dimensions and depth, it can be a poor estimator of total wound area, especially for irregularly shaped wounds. Multiplying length by width overestimates the true surface area. For more precise area calculations, consider digital planimetry or tracing methods.
2. Planimetry / Surface Area Calculation Method
Planimetry is a measurement technique focused on calculating a wound’s total surface area in square centimeters (cm²). Unlike the L×W×D method, which can overestimate the size of non-rectangular wounds, planimetry accurately captures irregular perimeters by tracing them. This approach is one of the most precise manual wound measurement examples for tracking changes in two-dimensional size.
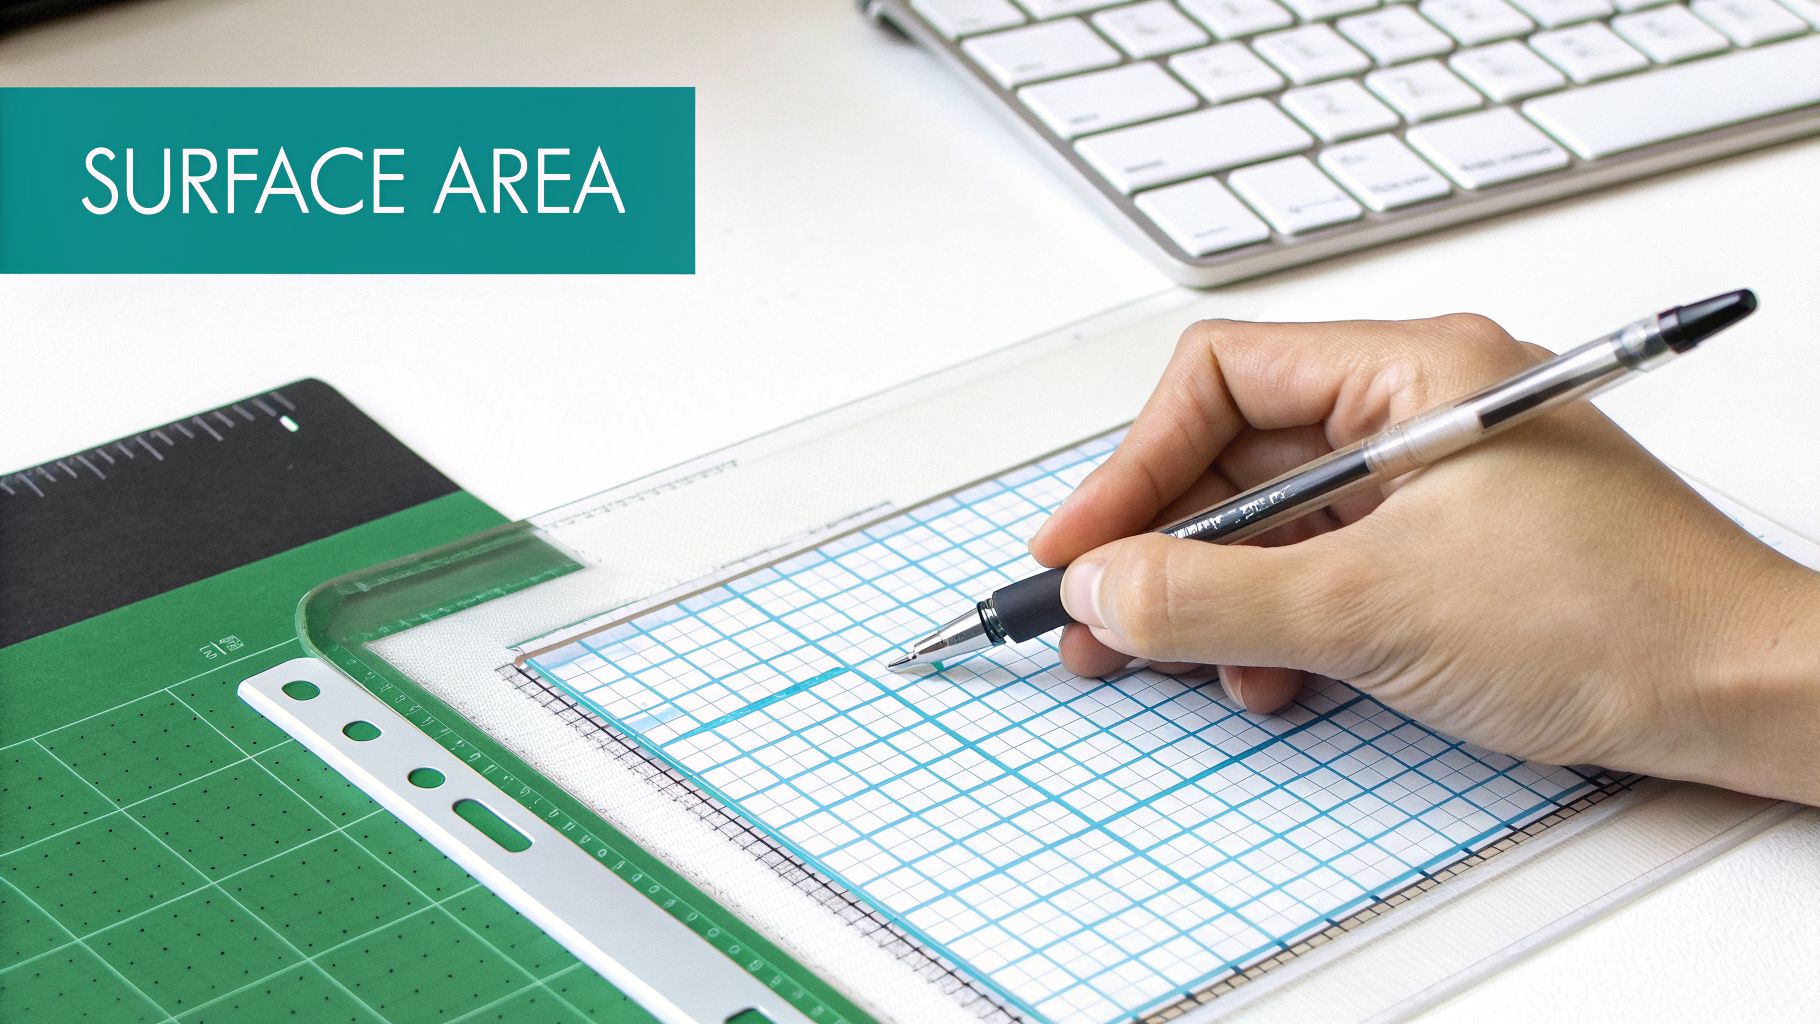
This method provides superior data for wounds with complex shapes. For example, a burn center can track the healing of a 15 cm² facial laceration using a transparent film tracing, allowing for precise calculation of area reduction. Likewise, a multidisciplinary wound care team can use digital planimetry to monitor a large, amoeba-shaped pressure injury on a patient's back, documenting healing progress as a percentage of total surface area reduction.
Actionable Tips for Planimetry Measurement
Accurate surface area calculation requires a methodical approach to minimize error and ensure consistency.
- Document the Formula: When using a mathematical formula, always note it in the patient's record (e.g., "Area calculated using ellipse formula: L×W×0.785").
- Perpendicular Photography: For digital planimetry, ensure the camera is positioned directly perpendicular to the wound surface to avoid skewing the image and altering the area calculation.
- High-Contrast Tracing: Use a transparent film, preferably one with a grid, to trace the wound's border. Mark anatomical landmarks on the film to orient it correctly during subsequent visits.
- Consistent Lighting: Good, consistent lighting is critical for clearly defining the wound's edges, whether you are tracing manually or using a digital tool.
Clinical Insight: While planimetry excels at measuring surface area, it provides no information about wound volume or depth. For full-thickness wounds, it should be paired with a separate depth measurement to create a complete three-dimensional picture of the wound's progress.
3. PUSH Tool (Pressure Ulcer Scale for Healing) Documentation Format
The PUSH Tool (Pressure Ulcer Scale for Healing) is a validated scoring system designed specifically for tracking the healing trajectory of pressure injuries. This tool moves beyond simple dimensions by creating a composite score (ranging from 0 to 17) based on three key parameters: wound size, exudate amount, and tissue type. This score provides a standardized, objective measure of wound status, making it a valuable part of any collection of wound measurement examples for regulatory and clinical monitoring.
The strength of the PUSH tool lies in its ability to translate complex clinical observations into a single, trackable number. For example, a skilled nursing facility (SNF) might document a Stage 3 sacral ulcer with a PUSH score of 14 on admission. After three weeks of consistent care, a new assessment showing a score of 8 provides quantifiable proof of healing. Similarly, a home health agency can use the PUSH score to document improvements in a heel pressure injury, noting a shift in tissue type from slough to granulation, which is reflected in the score. These scores support clinical decisions and justify the ongoing plan of care.
Actionable Tips for PUSH Tool Documentation
To maintain the integrity and reliability of the PUSH score, teams must apply it consistently.
- Standardized Forms & Intervals: Use the official PUSH tool form from the National Pressure Injury Advisory Panel (NPIAP) and conduct assessments at regular intervals, typically weekly for active wounds.
- Staff Training: Ensure all clinical staff are proficient in differentiating tissue types (necrotic tissue/eschar, slough, granulation, epithelial). Consistent training is key to accurate scoring.
- Exudate Assessment: Document the amount of exudate (none, light, moderate, or heavy) by observing the wound bed and the level of saturation on the previous dressing.
- Visual Documentation: Take standardized photographs at each assessment. These images serve as a visual record to validate the tissue type and exudate scores over time. You can learn more about best practices with a robust wound care documentation template.
Clinical Insight: The PUSH tool's greatest value is in tracking change over time. Plotting the scores on a graph provides a clear, visual representation of the healing trajectory. A consistently declining score indicates effective treatment, while a static or increasing score signals the need to re-evaluate the care plan.
4. Volumetric Measurement / 3D Reconstruction Method
The Volumetric Measurement method, also known as 3D reconstruction, represents a significant step forward in wound assessment technology. It uses advanced imaging techniques such as structured light, laser scanning, or photogrammetry to create a detailed topographical model of the wound. This process allows for the precise calculation of wound volume in cubic centimeters (cm³), capturing depth variations across the entire wound bed for a highly comprehensive assessment.
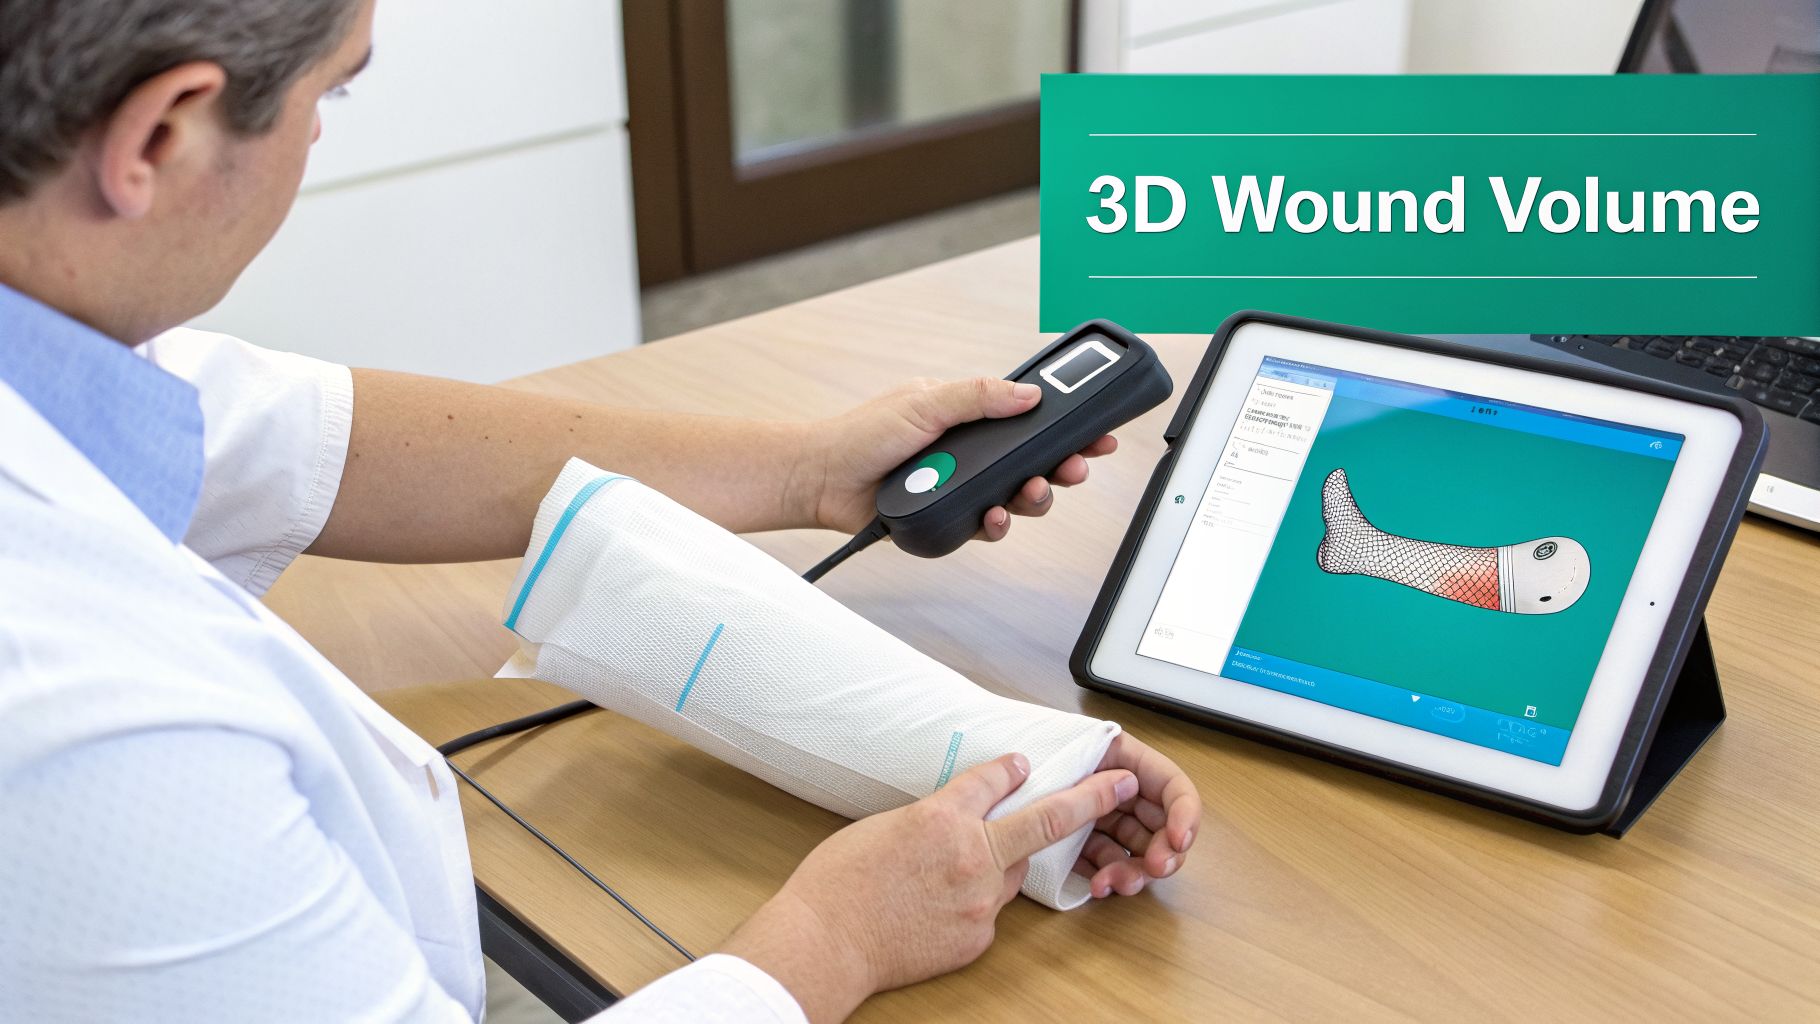
This method provides the most accurate data for complex and irregularly shaped wounds, making it an excellent example of advanced wound measurement. For instance, a hospital multidisciplinary wound center can use a handheld 3D scanner to monitor a deep, tunneling Stage 4 pressure injury, getting an exact volume that manual methods cannot capture. Similarly, burn centers can document pre- and post-grafting volume changes to quantify tissue loss and regeneration with exceptional accuracy. This level of detail is critical for research and for justifying advanced therapies.
Actionable Tips for Volumetric Measurement
Accurate 3D reconstruction depends on a standardized and controlled imaging process.
- Standardized Positioning: Always place the patient in the same position for each scan to ensure consistent and comparable 3D models over time.
- Scale Reference: Place color-coded or distance markers near the wound during the scan. These markers provide a reliable scale reference for the software to calibrate measurements.
- Multiple Angles: When using photogrammetry, capture images from several angles around the wound. This provides the software with sufficient data to build a complete and accurate 3D model without gaps.
- Secure Data Storage: Ensure all 3D models and associated patient data are stored in a secure, HIPAA-compliant digital format, protecting patient privacy and maintaining data integrity.
Clinical Insight: While 3D reconstruction offers unmatched accuracy for volume, it requires specialized equipment and trained personnel. For many clinical settings, a hybrid approach is practical: use standard L×W×D for routine weekly documentation and perform a periodic 3D scan (e.g., monthly) for a more detailed volumetric check on complex or non-healing wounds.
5. Photographic Documentation with Grid Overlay / Reference Scale Method
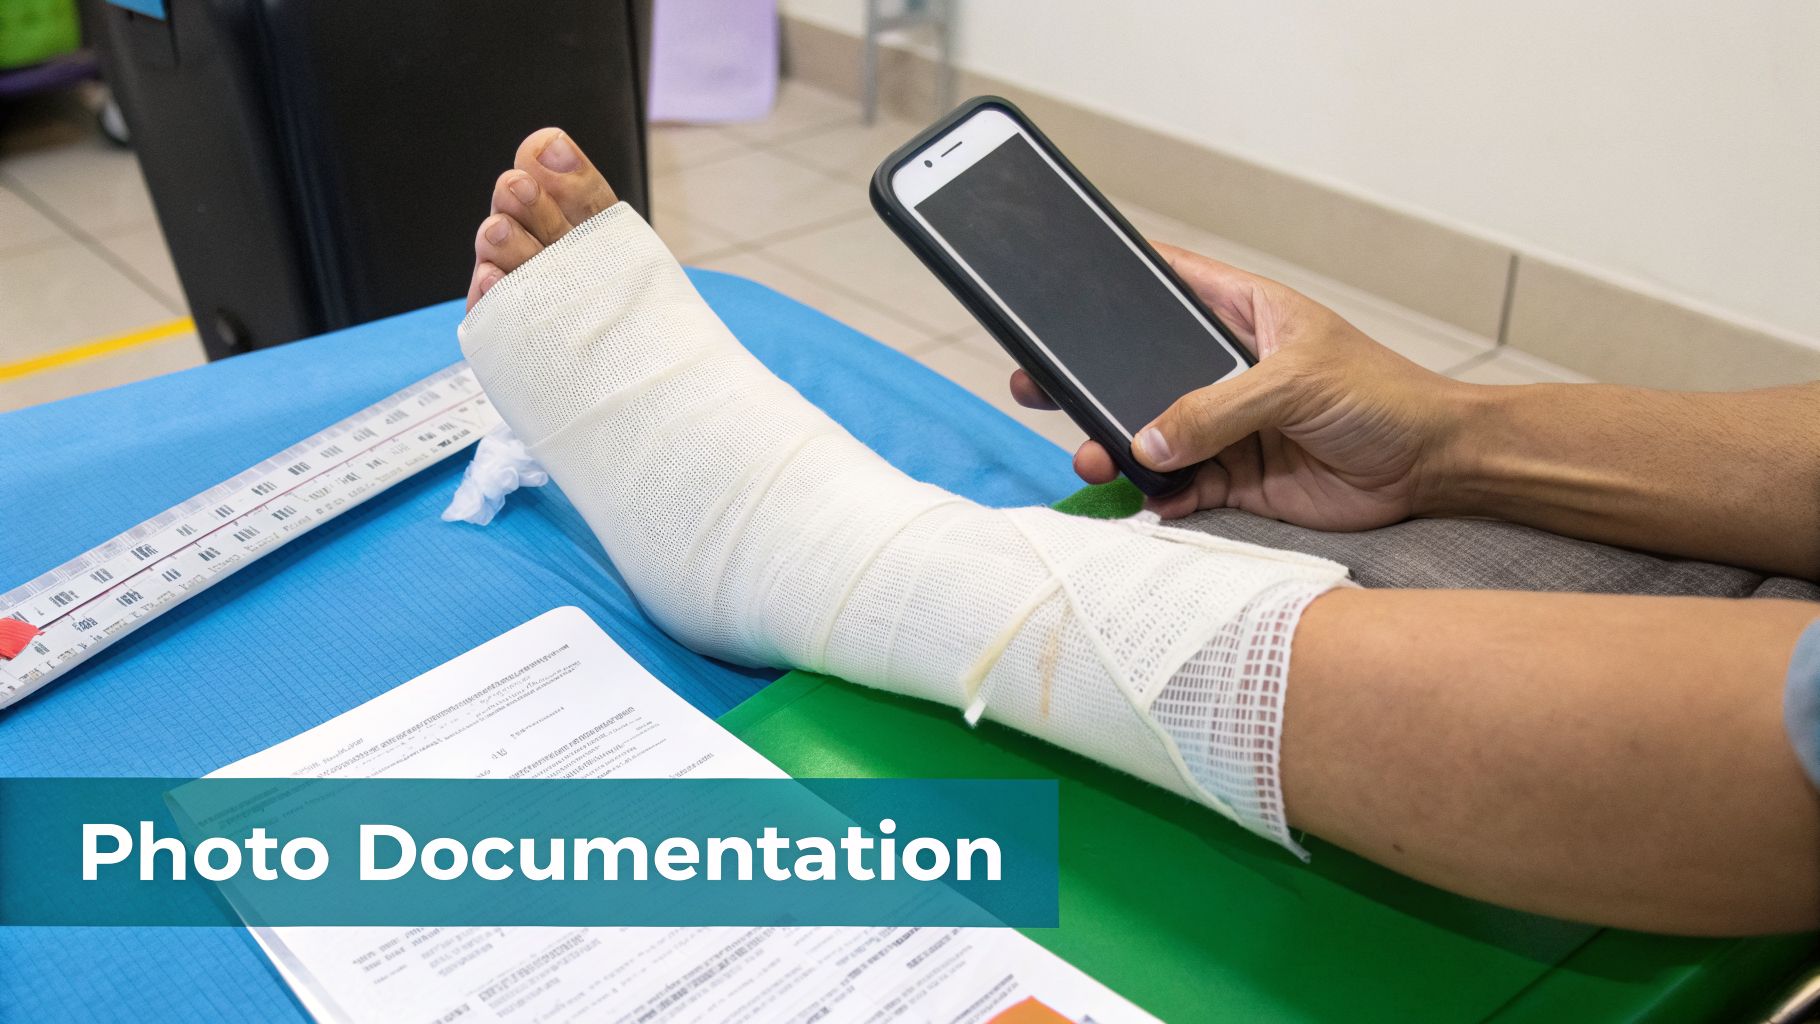
Photographic documentation with a reference scale is a standardized visual method for capturing a wound's appearance and size over time. This technique involves taking clinical photographs using consistent positioning, lighting, and a visible measurement tool, such as a sterile ruler or grid sticker, placed next to the wound. These images create an objective, verifiable record, which is crucial for tracking healing, justifying interventions, and enabling AI-powered analysis. This approach provides excellent qualitative and quantitative wound measurement examples.
The power of this method lies in its ability to create a clear, sequential story of the wound's journey. For instance, a home health agency can use smartphone photos with a ruler to track a pressure injury between visits, allowing a remote specialist to provide guidance. A wound clinic can photograph a venous leg ulcer at every appointment with consistent lighting, creating a trend review to demonstrate the effectiveness of compression therapy. It also provides undeniable proof for payers, such as showing pre- and post-debridement photos to justify a procedure.
Actionable Tips for Photographic Documentation
To produce high-quality, consistent images for reliable assessment, teams should establish a strict protocol.
- Standardize the Setup: Create a photography protocol that specifies camera distance, angle (always perpendicular to the wound surface), and lighting. Use the same external light source or room for every photo to ensure color consistency.
- Include a Reference: Always place a sterile, single-use ruler or adhesive grid directly adjacent to the wound. This scale must be clearly visible and in the same focal plane as the wound.
- Obtain Patient Consent: Before taking any photos, obtain written informed consent from the patient or their legal representative. Clearly explain how the images will be used, stored, and who will have access to them.
- Ensure Secure Storage: Store all images in a secure, encrypted, HIPAA-compliant system. Use a standardized file naming convention that includes the patient identifier, date, and wound location (e.g.,
PatientID_YYYY-MM-DD_Left-Heel.jpg).
Clinical Insight: While a reference scale allows for manual or digital measurement from a photo, its greatest value is in providing context. A photograph captures tissue quality, periwound condition, and signs of infection that numbers alone cannot. This qualitative data is just as important as the quantitative measurements for making sound clinical decisions.
6. Bates-Jensen Wound Assessment Tool (BWAT) Documentation
The Bates-Jensen Wound Assessment Tool (BWAT) is a validated, comprehensive method for evaluating wound status. It moves beyond simple linear dimensions by scoring 13 distinct characteristics of the wound and its surrounding tissue, including size, depth, edges, necrotic tissue type, exudate amount, and epithelialization. Each characteristic is rated on a 1 (best) to 5 (worst) scale, producing a total score from 13 (fully healed) to 65 (most severe). This standardized scoring provides a robust, quantitative picture of healing, making it one of the most reliable wound measurement examples for tracking complex changes over time.
This tool is invaluable for facilities aiming to standardize assessment across multiple clinicians and settings. For instance, a skilled nursing facility can use the BWAT to document a pressure injury's improvement, with a score dropping from 42 on admission to 28 after four weeks of dedicated care. Similarly, a home health agency can track a chronic venous leg ulcer, noting specific improvements in scores for granulation tissue and exudate, justifying continued skilled nursing visits.
Actionable Tips for BWAT Documentation
To ensure the BWAT yields consistent and meaningful data, clinical teams should adhere to specific protocols.
- Standardized Forms and Training: Use the official BWAT form from Bates-Jensen to maintain scoring integrity. All staff involved in wound care must receive initial training and complete annual competency assessments on its correct use.
- Consistent Timing: Perform the assessment at regular intervals, such as weekly for acute wounds or bi-weekly/monthly for chronic ones. Always assess the wound immediately after cleansing to get an accurate view of the tissue bed and exudate levels.
- Detailed Justification: Do not just record the number. Document specific observations that support each score (e.g., "Necrotic Tissue Score: 4 – >50% of wound bed covered with soft, black eschar").
- Visualize the Trajectory: Graph the total BWAT score over time. A downward trend provides a clear, visual confirmation of healing progress to clinicians, patients, and payers. You can learn more about how this fits into a complete record by reviewing other wound documentation examples.
Clinical Insight: While the BWAT provides an excellent overall picture of wound health, it does not replace the need for fundamental measurements. It is most effective when used in combination with L×W×D measurements. The L×W×D provides objective size data, while the BWAT offers a qualitative and quantitative assessment of the wound's biological status, creating a complete and defensible clinical record.
7. WIfI Score / Texas Classification System Documentation
Specialized classification systems like the WIfI (Wound, Ischemia, foot Infection) and the University of Texas (UT) Diabetic Foot Ulcer Classification System are vital for assessing diabetic foot ulcers (DFUs). Rather than just measuring size, these systems provide a structured risk assessment. WIfI grades each component-Wound, Ischemia, and Infection-on a scale from 0 (none) to 3 (severe), combining the scores to stratify amputation risk. The Texas system combines ulcer depth (Grade 0-3) with stage (A-D) to indicate the presence of infection and/or ischemia.
These frameworks are key among wound measurement examples for DFUs because they guide clinical decision-making. For instance, a podiatry clinic classifying a DFU as Texas Grade 2B (ulcer penetrating to tendon/capsule with ischemia) immediately prompts a vascular referral. In a hospital setting, a WIfI score indicating "extreme risk" triggers urgent consults for revascularization and debridement, establishing a clear care pathway based on objective criteria.
Actionable Tips for WIfI and Texas Classification
To ensure these powerful systems are used effectively, clinicians must document each component with precision.
- Combine for Clarity: Use the WIfI and Texas systems together for a more complete picture of a diabetic foot ulcer's severity and risk profile.
- Document Ischemia Source: When recording an ischemia grade, specify the assessment method used, whether an Ankle-Brachial Index (ABI), toe pressure, duplex scan, or clinical examination.
- Confirm Infection Objectively: Support an infection diagnosis with objective findings like increased drainage, erythema, or warmth. Document if tissue cultures were obtained to confirm the pathogen.
- Reassess and Update: These classifications are not static. Re-evaluate the wound and update the WIfI or Texas score at each visit, documenting which criteria have changed (e.g., Texas 1A progressing to 1C with new signs of infection).
Clinical Insight: A mismatch between the clinical picture and the classification score should prompt further investigation. For example, if a wound appears to be healing poorly but the vascular score is low, re-evaluating blood flow with more advanced studies may be necessary. Use these scores to set clear patient expectations and justify referrals to vascular or infectious disease specialists.
8. Standardized Digital Wound Measurement Software / Mobile App Documentation
Digital wound measurement software and mobile apps represent a major step forward in standardizing wound assessment. These platforms use a device's camera along with a reference scale to capture images, from which the software automatically calculates precise measurements like length, width, depth, surface area, and volume. This process minimizes the manual variation inherent in traditional methods, creating a consistent, objective record of the wound's status over time. The data is often stored in a cloud-based system, allowing for trend analysis, report generation, and integration with electronic health records (EHRs).
This technology provides a clear, data-driven approach that is a powerful component of modern wound measurement examples. For instance, a home health agency can use an app like eKare to have nurses capture photos with a built-in ruler. The system then automatically calculates measurements and generates weekly reports that justify the ongoing need for skilled care. Similarly, an outpatient wound clinic can use software to create dashboards that a multidisciplinary team can review, with alerts flagging wounds that have stalled or worsened, prompting timely intervention.
Actionable Tips for Digital Measurement Software
To successfully implement and sustain the use of digital wound documentation, organizations should focus on process and training.
- Establish Clear Protocols: Create and enforce standards for photo lighting, patient positioning, and the placement of the calibration marker or ruler. Consistency in image capture is vital for accurate data.
- Select an Integration-Ready Platform: Choose software with robust integration capabilities for your primary EHR. This avoids double data entry and ensures wound data is part of the comprehensive patient record.
- Train and Support Users: All users need hands-on practice before clinical deployment. Appoint a super-user or champion on staff to act as a go-to resource for troubleshooting and mentoring colleagues.
- Regularly Review Trend Reports: Use the software’s reporting features to your advantage. Discuss wound progression trends during team huddles or meetings to make collaborative, data-informed decisions about care plans.
Clinical Insight: While digital tools offer superior accuracy and consistency, the quality of the output depends on the quality of the input. Poor lighting, incorrect camera angles, or an obscured calibration marker can lead to inaccurate measurements. Auditing data periodically and retraining staff on photo-capture techniques are key to maintaining data integrity.
Unifying Your Workflow: From Measurement to Reimbursement
Throughout this guide, we've examined a spectrum of wound measurement examples, moving from fundamental techniques to sophisticated digital solutions. We've seen how the simple Length × Width × Depth method provides a baseline, while tools like planimetry, the PUSH Tool, and the BWAT introduce greater detail and standardization. The goal is always the same: to create a precise, replicable record of the wound's status.
The true challenge, however, is not just in taking the measurement but in making that data work for you. Each data point must flow seamlessly from the bedside to the electronic health record and, ultimately, to the payer. This journey is often fragmented, leading to documentation gaps, coding errors, and delayed reimbursement. The detailed analyses of each example underscore a critical theme: consistency and accuracy are the bedrock of both effective clinical management and financial stability.
Bridging the Gap from Assessment to Payment
The transition from a clinical finding to a paid claim is where many wound care programs falter. This is precisely where technology can offer the most significant advantage. The progression from manual methods to digital platforms is not just about convenience; it’s about creating a single source of truth.
By integrating image capture, automated measurement, and structured data generation into one process, you eliminate the manual, error-prone steps that create friction between clinical teams and billing departments.
This unified approach ensures that the detailed wound characteristics observed by the clinician are precisely the same data used for coding and billing. To truly unify your workflow from measurement to reimbursement, a focus on overall clinical documentation improvement is essential, ensuring all wound care details are accurately captured and reflected. Ultimately, the future of wound care depends on this seamless integration, turning every measurement into actionable insight and faster, more accurate payment.
Ready to eliminate documentation friction and connect your clinical measurements directly to clean claims? Discover how Ekagra Health AI uses ambient voice technology to automate your entire wound care workflow, from voice-to-note and image analysis to billing. See how our platform can help you focus on patients, not paperwork, by visiting Ekagra Health AI today.
