Treating a stage 3 decubitus ulcer is a serious undertaking. We're dealing with full-thickness tissue loss now, so the game plan has to be comprehensive, combining aggressive wound care with a hard look at the patient's overall health and support system.
Our primary goals are clear: get rid of any dead tissue, keep the bacterial load in check, create a moist environment for healing, and tackle underlying problems like poor nutrition. This isn't just about putting a dressing on; it's about a systematic clinical strategy to stop this wound from deteriorating into a much more dangerous Stage 4.
Defining the Challenge of Stage 3 Ulcers
When a wound reaches Stage 3, it's a critical turning point. This isn't a superficial scrape anymore. The injury has chewed through the top layers of skin (epidermis and dermis) and is now down into the subcutaneous fat.
Think of it this way: a Stage 2 is a partial-thickness wound, but a Stage 3 is a full-thickness injury. The key distinction from a Stage 4, however, is that you don't see exposed bone, tendon, or muscle. Not yet, anyway.
This specific depth is what makes Stage 3 ulcers such a clinical puzzle. They're deep enough to become breeding grounds for bacteria, and you'll often find undermining (where the wound has created a little shelf or lip under the visible edge) or tunneling (sinus tracts burrowing deeper into the tissue). At this point, simple topical treatments are out the window. We need a more intensive, structured approach.
Key Characteristics of a Stage 3 Wound
To get the treatment right, you first have to be certain you're looking at a Stage 3. Here are the tell-tale signs I always look for during an assessment:
- Full-Thickness Skin Loss: You'll see a deep, crater-like wound. The top two layers of skin are completely gone.
- Visible Subcutaneous Fat: It's common to see the yellowish, globular adipose tissue in the base of the wound.
- Slough or Eschar: You may find non-viable tissue in the wound bed. This can be stringy yellow or tan slough, or thick, leathery black eschar. This dead tissue has to be removed before you can truly see what you're dealing with.
- Undermining and Tunneling: These are sneaky and common. You have to gently probe around the wound's edges with a sterile, cotton-tipped applicator to discover them. The extent of these hidden pockets often reveals the true, much larger size of the injury.
A Stage 3 ulcer is a massive red flag. It’s a sign that the patient's condition is worsening, and the wound is sitting on a dangerous precipice. Aggressive, systematic intervention right now is what stands between healing and a catastrophic decline into a Stage 4 wound—which brings a much higher risk of devastating complications like osteomyelitis.
Getting the staging right is non-negotiable for proper care and documentation. For a more detailed breakdown of the visual cues for each stage, our comprehensive pressure injury staging guide provides in-depth clinical descriptions and photos.
Now, let's break down the essential pillars of care. We'll lay out a clear framework to help you improve healing outcomes and confidently navigate the complexities of managing these challenging wounds.
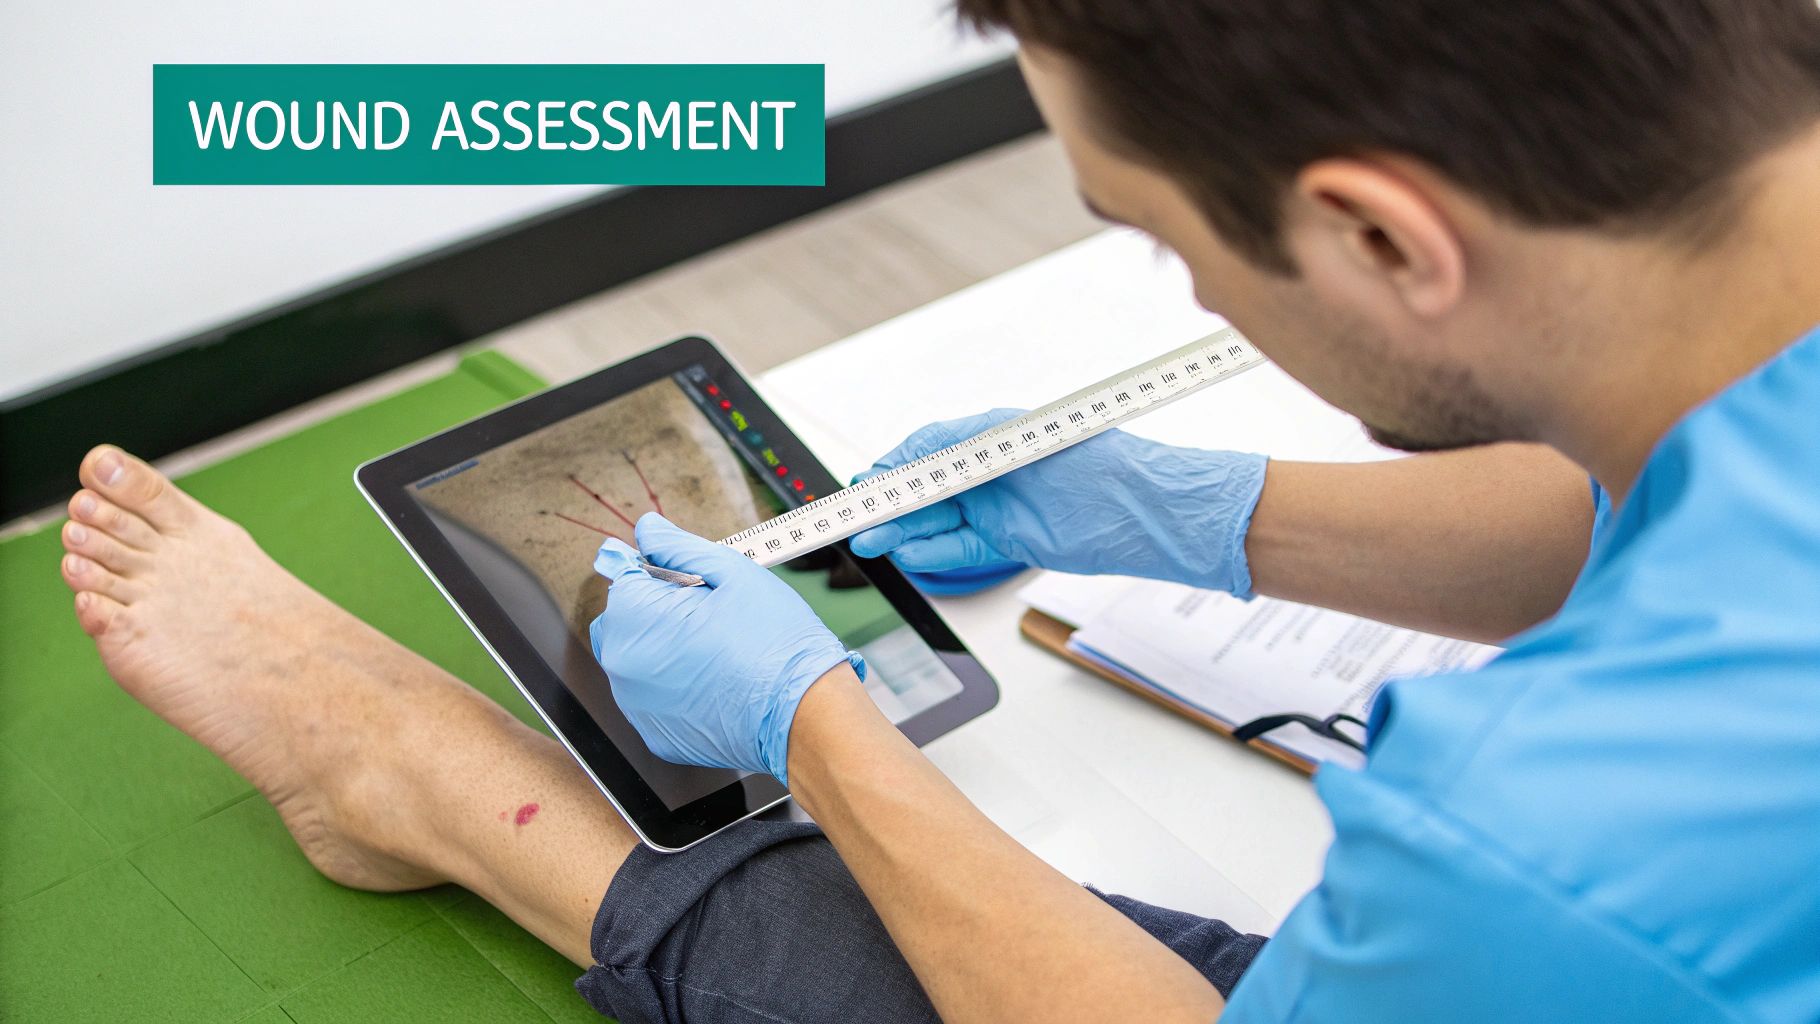
Performing a Comprehensive Wound Assessment
Any effective stage 3 decubitus ulcer treatment plan starts with one thing: a meticulous and thorough wound assessment. This isn't just about grabbing a ruler and noting length and width. Think of it as a clinical investigation. You're building the complete picture of the injury, creating the baseline that will justify your entire plan of care and prove medical necessity later on.
When you gather this level of detailed data from the start, you can track healing objectively. Instead of guessing or relying on memory, you have hard evidence showing whether the wound is improving, stuck in place, or getting worse. This is absolutely critical for knowing when to adjust your approach. There's a wide range of various wound assessment tools for nurses that can help streamline this process.
Identifying Key Tissue Types
First things first: you have to identify exactly what you're looking at in the wound bed. A stage 3 ulcer is rarely a clean, uniform crater. More often, it’s a patchwork of different tissue types, and each one tells a part of the wound's story.
- Granulation Tissue: This is the good stuff. You're looking for that beefy, red, slightly bumpy tissue. It’s a clear sign that healthy new blood vessels and connective tissue are forming.
- Slough: This is the non-viable, gunk-like tissue that often appears as yellow, tan, or gray stringy material. It absolutely has to go, as it's a perfect breeding ground for bacteria.
- Eschar: This is the hard, leathery, and often black or brown dead tissue covering the wound. Eschar acts like a cap, making it impossible to truly stage the wound or for healing to begin until it’s removed.
A common mistake I see is a chart note that simply says “100% slough covered” without any further investigation. The presence of slough or eschar can easily mask the true depth of the wound, potentially hiding significant undermining or tunneling just beneath the surface.
Accurately charting the percentage of each tissue type is vital. It’s how you’ll know if your debridement strategy is actually working week to week.
Probing for Undermining and Tunneling
Stage 3 ulcers are notorious for hiding their true size. The opening you see on the skin's surface can be deceptively small, masking much larger areas of tissue damage underneath. That's why probing for undermining and tunneling isn't optional—it's a mandatory part of any competent assessment.
Undermining is when the wound spreads out laterally underneath the skin's edge, creating a kind of lip or shelf. Picture a little cave forming along the wound’s perimeter.
Tunneling, sometimes called a sinus tract, is a more focused channel or narrow passageway that dives from the wound bed down into deeper tissue.
To check for these, take a sterile, cotton-tipped applicator and gently probe the wound edges and base. When you find a channel or shelf, measure its depth and document it using the "clock method" (e.g., "3 cm of undermining from the 2 o'clock to 5 o'clock positions"). This precise mapping is the only way to choose the right dressings to properly fill that dead space.
Assessing the Periwound and Exudate
Your assessment can't stop at the wound's edge. The surrounding skin, what we call the periwound, offers crucial clues about how well moisture is being managed and warns of brewing complications. Keep an eye out for:
- Maceration: Skin that looks white and waterlogged from too much moisture.
- Erythema: Spreading redness that could signal inflammation or a cellulitis.
- Induration: A hardening or firmness of the tissue, which is another red flag for infection.
At the same time, you need to characterize the exudate, or wound drainage. Make a note of its amount (scant, moderate, copious), color (serous, sanguineous, purulent), and any odor. A sudden change, especially a foul smell or a switch to thick, green drainage, is a classic sign of infection that needs immediate action.
Getting the Wound Bed Ready to Heal
Once you've properly staged a decubitus ulcer, the real hands-on work begins. A wound simply won't heal if it's full of dead tissue and bacteria. It's like trying to plant a garden in rocky, weed-infested soil—you have to clear the ground first. This vital process, known as wound bed preparation, creates the foundation necessary for any new tissue to grow.

The focus here is twofold: get rid of non-viable tissue through debridement and get the wound’s bacterial load under control. If you don't get this right, the wound will stall out or, even worse, develop a serious infection. This is an active, crucial phase of stage 3 decubitus ulcer treatment that demands sharp clinical judgment.
Choosing the Right Debridement Method
Debridement isn't a one-size-fits-all solution. The best method depends on the type and amount of dead tissue, the patient's overall condition, the care setting you're in, and what resources you have on hand.
Let’s look at how these choices play out in the real world:
- Sharp Debridement: This is where you use a scalpel, forceps, or scissors to physically remove dead tissue. It's hands-down the fastest and most effective way to deal with thick, leathery eschar or large amounts of slough.
- In Practice: A patient in the hospital has a sacral ulcer covered with 80% black, hardened eschar. A skilled clinician would likely perform conservative sharp debridement right at the bedside. This quickly opens up the wound, allowing for a true assessment of its depth and condition.
- Enzymatic Debridement: This approach uses a prescribed topical ointment with enzymes that specifically target and break down necrotic tissue. It’s a much slower process but is far less invasive.
- In Practice: Think of an elderly patient getting home health care who simply can't tolerate a sharp procedure. The visiting nurse might apply an enzymatic agent daily, covering it with a dressing. Over days or weeks, the ointment will gently dissolve the slough.
- Autolytic Debridement: This method leverages the body's own natural healing processes. By applying a moisture-retentive dressing, you create the perfect environment for the body's own enzymes to liquefy and separate the dead tissue. It’s the slowest method, but also the most selective and least painful.
The decision of how to debride is as much situational as it is clinical. While sharp debridement is often the gold standard for getting fast results, enzymatic and autolytic methods are invaluable for patients who can't access surgical expertise or for whom comfort is the top priority.
Knowing what you're looking at is half the battle. To sharpen your assessment skills, you can review our detailed guide on recognizing different wound bed descriptions.
Managing Bioburden and Tackling Infection
Every chronic wound has bacteria living in it. The key is to prevent that bacterial load—the bioburden—from getting out of control and overwhelming the patient's immune system. When a Stage 3 ulcer starts showing signs of a local infection, like new pain, a foul odor, or purulent drainage, it's a clear signal to intervene.
The first line of defense is usually a topical antimicrobial dressing. These dressings are designed to release substances like silver, iodine, or PHMB directly into the wound bed to knock back the bacteria. This targeted approach is often all that's needed to regain control.
However, if the infection escapes the wound's borders and causes cellulitis (redness, warmth, and swelling in the surrounding skin) or systemic symptoms like a fever, topical treatments are no longer enough. At this point, you've crossed a critical threshold. Systemic antibiotics, whether oral or IV, are now essential to fight the infection from the inside out.
Controlling Drainage to Protect the Skin
Finally, you have to manage the wound drainage, or exudate. If too much fluid sits on the surrounding skin, it will cause maceration—that classic white, waterlogged look that means the healthy tissue is breaking down.
Your primary tool for managing exudate is your dressing choice. A highly absorbent dressing, like a calcium alginate or a hydrofiber, will wick excess moisture away from the wound surface. This not only protects the periwound skin from further damage but also helps create that ideal moist-but-not-wet environment that new granulation tissue loves.
Interestingly, how we treat these severe ulcers is changing. A decade-long analysis in the U.S. found that while the severity of ulcers in hospitalized patients hasn't changed, the rate of procedures for Stage 3 and 4 ulcers actually fell from 17.5% to 13.2%. This may suggest a move toward managing these cases in outpatient settings, which makes precise documentation more important than ever to justify the treatment plan.
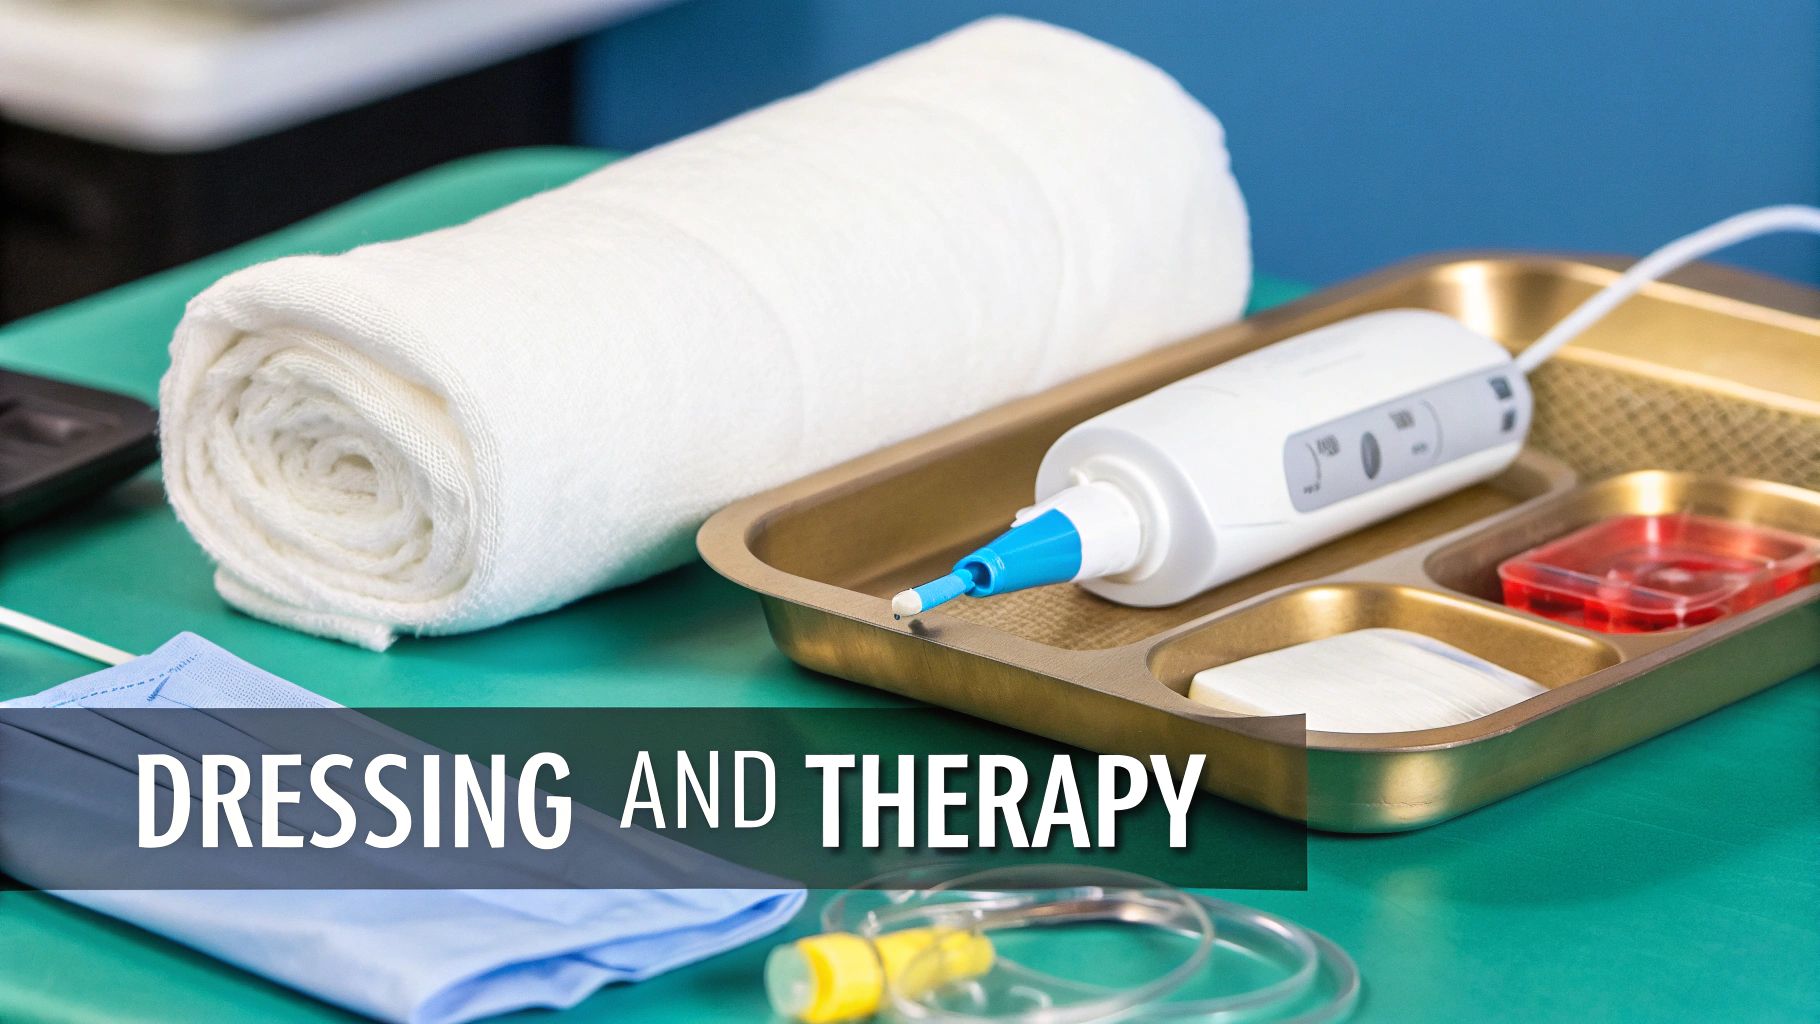
Choosing the Right Dressings and Therapies
Once you’ve prepped the wound bed, your next move in treating a stage 3 decubitus ulcer is picking the right tools to promote healing. This isn't just about grabbing any dressing from the supply cart. It’s a strategic choice you'll make based on what the wound looks like right now. The entire goal is to create that "just right" moist environment where cells can get to work.
Think of your dressing as an active player in the healing game. It has a job to do: manage moisture, shield new tissue, and stay put without causing more damage. Nail this choice, and you can seriously speed up healing. Get it wrong, and you might stall progress or even set the patient back.
Matching the Dressing to the Wound
For a Stage 3 ulcer, the amount of exudate—the drainage—is almost always the deciding factor in your dressing selection. Too wet, and the skin around the wound will get soggy and break down (maceration). Too dry, and the healing cells can't move across the wound bed to do their job. It's a delicate balance.
Here are a few common scenarios I see all the time:
- For a wound with heavy drainage: Your top priority is absorption. Calcium alginates and hydrofiber dressings are your go-to options here. They’re workhorses, capable of soaking up many times their weight in fluid. As they absorb, they transform into a gel that keeps the wound bed from drying out while wicking that excess moisture away from the surrounding skin.
- For a wound with minimal to moderate drainage: When you see a nice, healthy bed of red granulation tissue, the game changes. Now you're focused on protection and maintaining that perfect moisture balance. Foam dressings are fantastic for this. They provide a soft cushion, insulate the wound bed, and can easily handle a moderate amount of exudate.
- For filling dead space: A Stage 3 often has undermining or tunneling. You absolutely must loosely pack that empty space to stop fluid from collecting and forming an abscess. Alginate ropes or hydrofiber ribbons are designed for exactly this purpose.
The most important principle is that your dressing choice has to be dynamic. A wound that needed a super-absorbent alginate two weeks ago might be much less weepy today and ready for a simple foam. Reassessing the wound at every single dressing change is non-negotiable.
When to Consider Advanced Therapies
Sometimes, even with perfect standard care, a Stage 3 ulcer just hits a wall. The wound is clean and has good blood flow, but it's just not closing. This is when you need to think about escalating to more advanced therapies.
The most common and effective option in these situations is Negative Pressure Wound Therapy (NPWT), which you probably know as a wound vac. This involves placing a special foam dressing into the wound, sealing it, and applying controlled sub-atmospheric pressure with a small pump.
NPWT gives healing a serious push in several ways:
- It actively pulls away excess fluid and bacteria.
- It boosts blood flow to the wound.
- It physically pulls the wound edges closer together.
- It stimulates the growth of new granulation tissue.
A Stage 3 ulcer becomes a great candidate for NPWT when it’s large, deep, or has been stalled for several weeks despite your best efforts. It’s a powerful tool for kickstarting tissue growth, often paving the way for a surgical flap or graft to finally close the wound.
A Practical Dressing Selection Guide
Let’s be honest, the sheer number of dressing products out there can be overwhelming. The trick is to stop thinking about brand names and start thinking about function. What does this specific wound need today?
This quick-reference table is designed to help you connect the wound's characteristics to the right dressing category.
Dressing Selection Guide for Stage 3 Decubitus Ulcers
| Wound Characteristic | Primary Dressing Goal | Recommended Dressing Types |
|---|---|---|
| High to copious exudate | Absorb moisture, prevent maceration | Calcium Alginate, Hydrofiber |
| Moderate exudate with granulation | Maintain moisture, protect, insulate | Foam Dressings, Hydrocolloids |
| Minimal exudate, shallow wound | Provide moisture, protect new cells | Hydrogels, Transparent Films |
| Deep cavity with undermining | Fill dead space, manage exudate | Alginate or Hydrofiber ropes/ribbons |
By consistently assessing the wound and matching your dressing to its current needs, you create the best possible conditions for healing. This hands-on management, along with knowing when to bring in advanced therapies like NPWT, is the core of effective topical treatment for Stage 3 pressure ulcers.
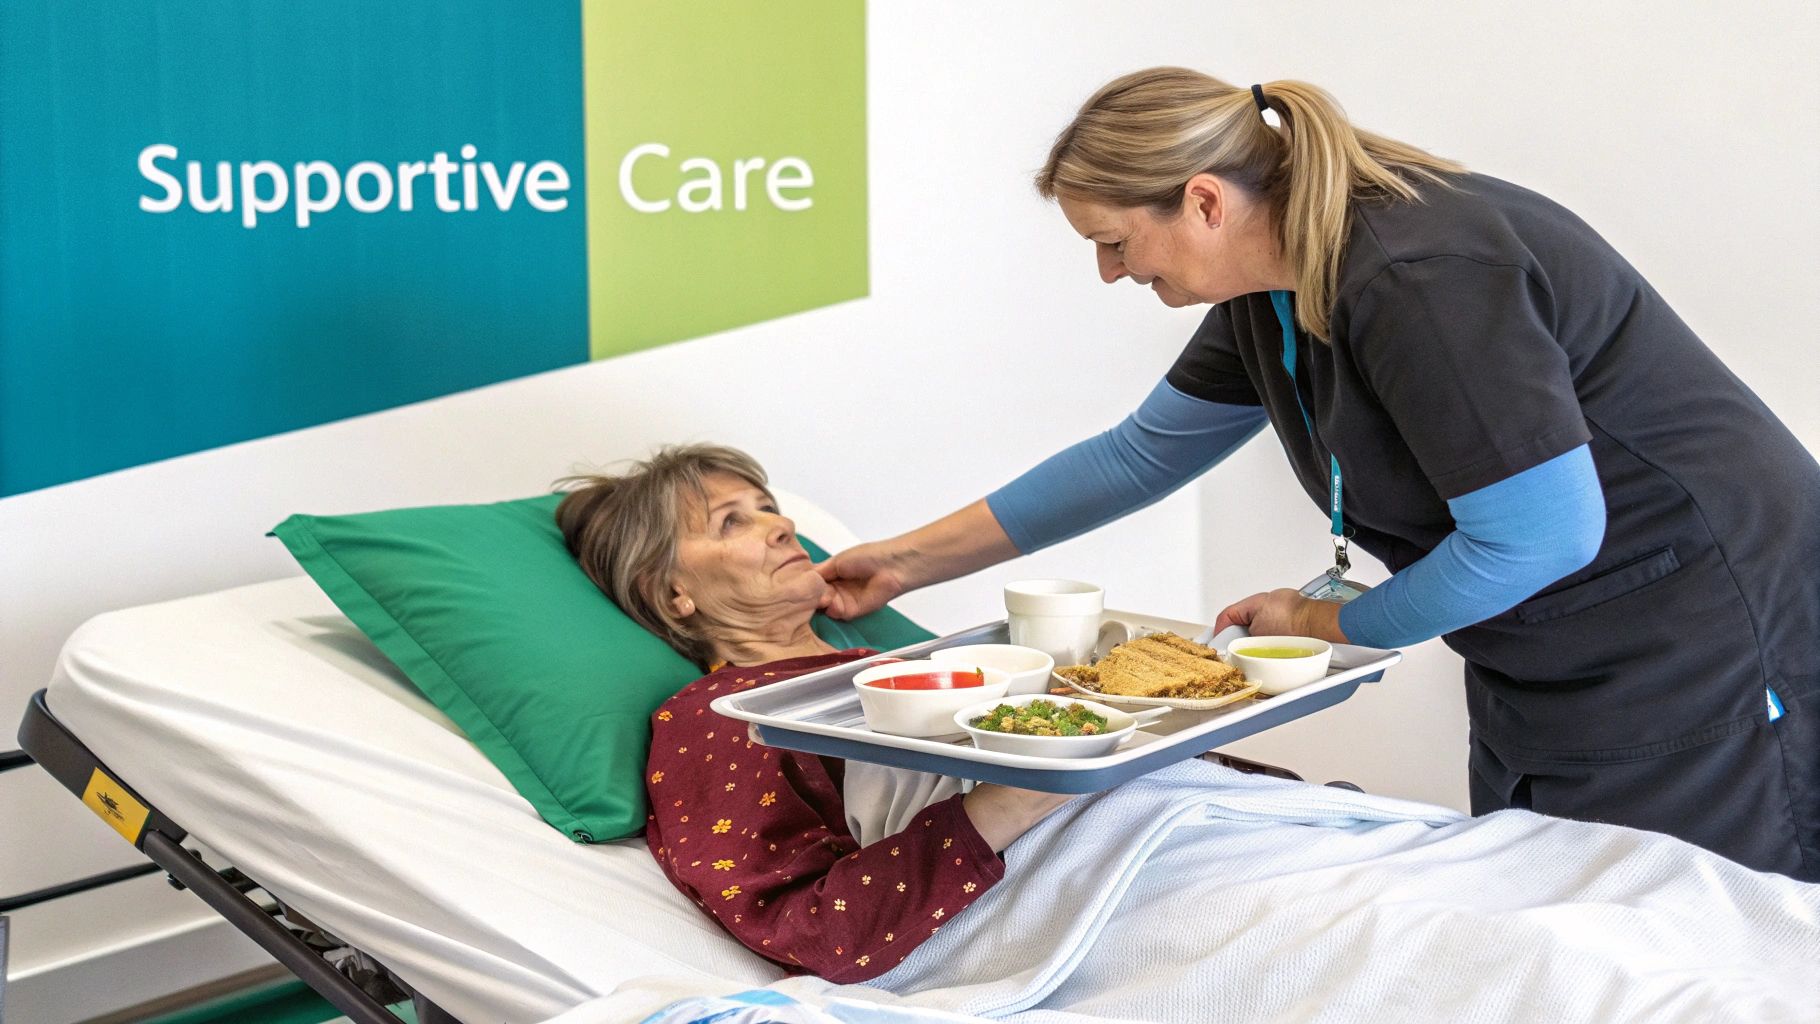
Building a Foundation for Healing
Treating a stage 3 decubitus ulcer successfully means looking far beyond the wound's edge. If you only focus on the wound itself while ignoring the systemic problems that created it, you're setting yourself—and your patient—up for failure. Real healing requires a holistic approach that supports the entire body, with a sharp focus on pressure, nutrition, and comfort.
Think of this comprehensive support as the foundation. Without it, even the most advanced dressings and therapies we've discussed will struggle against a constant tide of tissue damage and metabolic deficits.
Mastering Pressure Redistribution
The first rule of pressure ulcer care is simple: get the pressure off the wound. It sounds obvious, but truly effective offloading is more than just ordering a specialty mattress. It's about a diligent, consistent strategy tailored to the individual patient.
A standard turning schedule is every two hours for anyone confined to a bed, but that's just a starting point. I've seen many high-risk patients who need to be turned more frequently. The trick is to use pillows and wedges strategically to completely float bony hotspots like the sacrum, hips, and heels. You have to ensure zero direct pressure is on the ulcer or any other vulnerable areas.
"Severe bedsores are one of the clearest signs of nursing home neglect. These wounds take time to form and are almost always preventable with routine care."
This quote really drives home the point. Consistent, documented repositioning isn't optional; it's a non-negotiable standard of care. Charting every turn and skin check is absolutely critical, both for quality of care and for demonstrating compliance.
Fueling the Body for Tissue Repair
A healing wound is an incredibly demanding metabolic event. The body needs a steady supply of specific building blocks to create new tissue. A patient who is malnourished simply cannot mount an effective healing response. Nutrition isn't a "nice to have"—it's a core part of the treatment plan.
For a patient with a Stage 3 ulcer, you need to think about significantly elevated nutritional targets. The focus boils down to three key areas:
- Protein: This is, without a doubt, the most critical macronutrient for healing. The goal is typically 1.25 to 1.5 grams of protein per kilogram of body weight per day. For a 150 lb (68 kg) person, that’s a hefty 85-102 grams of protein daily.
- Calories: The body needs pure energy to fuel cellular activity. Patients often require 30 to 35 calories per kilogram of body weight just to stop their bodies from breaking down existing muscle for fuel.
- Micronutrients: Key players like Vitamin C, Vitamin A, and Zinc are essential cofactors for collagen synthesis and immune function. Given the increased demand, supplementation is almost always necessary.
Getting a registered dietitian involved is the best way to create a personalized plan. They can help you navigate food preferences and incorporate oral nutritional supplements when a patient's intake is poor. This ensures the body has everything it needs to close that wound from the inside out.
Managing Pain to Improve Outcomes
Pain is a huge, and often overlooked, barrier to healing. A patient in constant pain isn't going to move, eat well, or cooperate with care. This discomfort often peaks during dressing changes, which can quickly create a cycle of anxiety and resistance.
You have to get ahead of the pain. Administering prescribed pain medication 30-60 minutes before a dressing change can make the entire procedure much more tolerable for everyone involved.
Beyond the procedural pain, it’s vital to assess and manage the patient's baseline pain throughout the day. Uncontrolled pain elevates stress hormones like cortisol, which can directly slow down the healing process. Getting pain under control isn't just about comfort and quality of life; it's a solid clinical strategy for achieving better wound outcomes.
Getting Documentation and Reimbursement Right
Great clinical work on a Stage 3 ulcer can fall apart on the back end without equally great documentation. This is where your hands-on care at the bedside connects with the administrative side of things. If your notes are vague or incomplete, you're setting yourself up for a long fight to justify your treatment choices and get paid for them.
This isn't just about ticking boxes for bureaucracy. Meticulous documentation is the financial engine that keeps a wound care service running. It's what allows you to afford the very best therapies and dedicate the necessary time to these complex cases. Honestly, mastering this workflow is essential for any sustainable practice.
What a Reimbursement-Ready Note Looks Like
When you're dealing with a Stage 3 ulcer, a generic "wound improving" note just won't fly. Your documentation has to paint a crystal-clear picture for anyone reading it, especially the payers. Every detail you include is another piece of evidence proving medical necessity.
Your progress notes need to hit these points every single time:
- Hard Numbers: Always record length, width, and depth in centimeters. No guessing.
- Wound Bed Breakdown: Get specific with percentages. For instance, "60% granulation tissue, 30% slough, 10% necrotic eschar."
- Exudate Details: Describe the amount (scant, moderate, heavy), color, and any odor.
- The Surrounding Skin: Is there maceration? Erythema? Induration? Are the edges rolling or showing signs of new epithelial growth? Note it all.
This level of detail is non-negotiable, especially when you consider the price tag on these wounds. Stage 3 ulcers might seem rare, but they punch way above their weight in terms of cost. In fact, economic studies show that Stage 3 and Stage 4 wounds are responsible for roughly 59% of all pressure ulcer-related expenses. That's because they take longer to heal and require far more intensive resources. You can dig deeper into the long-term outcomes and costs of full-thickness pressure ulcers here.
Tying Your Notes to CPT and ICD-10 Codes
Every single thing you write in your note has to back up the codes you're billing for. Did you perform sharp debridement (CPT 97597/97598)? Then your note better describe the exact non-viable tissue you removed. Did you apply an advanced cellular tissue product? Your documentation needs to spell out exactly why it was medically necessary over a simpler dressing.
Here's the golden rule I live by: if it's not in the chart, it didn't happen. A detailed, consistent narrative is your best defense against claim denials, audits, and delayed payments.
This is where having the right tools can make a huge difference. Modern wound management platforms, like Ekagra Health, are designed for this. They can use AI to capture your spoken notes and automatically build a structured, coded chart. This ensures those critical details are never missed and helps link your clinical findings directly to the right ICD-10 and CPT codes. The result is a clean, defensible claim that truly reflects the complex care you provided.
Common Questions in the Clinic
When you're managing a stage 3 pressure ulcer, even the best-laid plans can hit a snag. It's natural for questions to pop up, especially when a wound isn't behaving as expected. Let’s tackle some of the most common hurdles you might face.
How Long Does a Stage 3 Ulcer Really Take to Heal?
This is the million-dollar question, and unfortunately, there's no magic number. Healing is a complex process tied directly to the patient's overall health, comorbidities, and the specifics of the wound itself.
With dedicated, by-the-book care—we're talking consistent offloading, optimized nutrition, and meticulous wound management—you can expect a healing window of anywhere from one to four months. That said, if you run into complications like an infection or poor arterial flow, that timeline can stretch out considerably.
When Is It Time to Call in a Surgeon?
Don't think of a surgical consult as a last resort. It's a strategic next step when a wound just isn't responding to your best efforts after several weeks of dedicated conservative care.
It's time to pick up the phone if you see these signs:
- The wound has completely stalled, with no new healthy granulation tissue forming.
- There's a significant amount of necrotic tissue that requires a more aggressive debridement than you can provide at the bedside.
- The wound is simply too large or deep to close on its own, making a flap or graft the most practical solution.
A surgical consult isn't an admission of failure. For these deep, stubborn wounds, surgical closure is often the most direct route to a fully healed ulcer and can be the best defense against recurrence.
What's the Best Way to Handle Hypergranulation Tissue?
Every now and then, you'll see granulation tissue that gets a little too enthusiastic, growing up and over the wound edges. This "proud flesh," or hypergranulation, physically blocks the epithelial cells from migrating across the wound bed, halting the final phase of healing.
When you see this, the go-to treatment is applying topical silver nitrate to gently cauterize and shrink the excess tissue. You might also want to rethink your dressing. Switching to something a little less moisture-retentive can often help get things back under control.
Navigating the documentation and billing for Stage 3 ulcers can feel like a full-time job. Ekagra Health AI provides a voice-first platform that converts your spoken notes into structured, coded charts in just minutes. You can cut down documentation time by up to 70%. Learn how our AI-powered solution helps you streamline workflows and accelerate reimbursement.
